Using Stable Diffusion Scripts and Extensions

Looking to "extend" the functionality of your Stable Diffusion instance? Look no further! This guide will show you how to install and use custom scripts and extensions with our Stable Diffusion endpoint.
I'll assume you already have a Pod instance with the Stable Diffusion template; if you don't and need a guide, the first step in this article will show you how to get one spinning.
Installing Custom Scripts
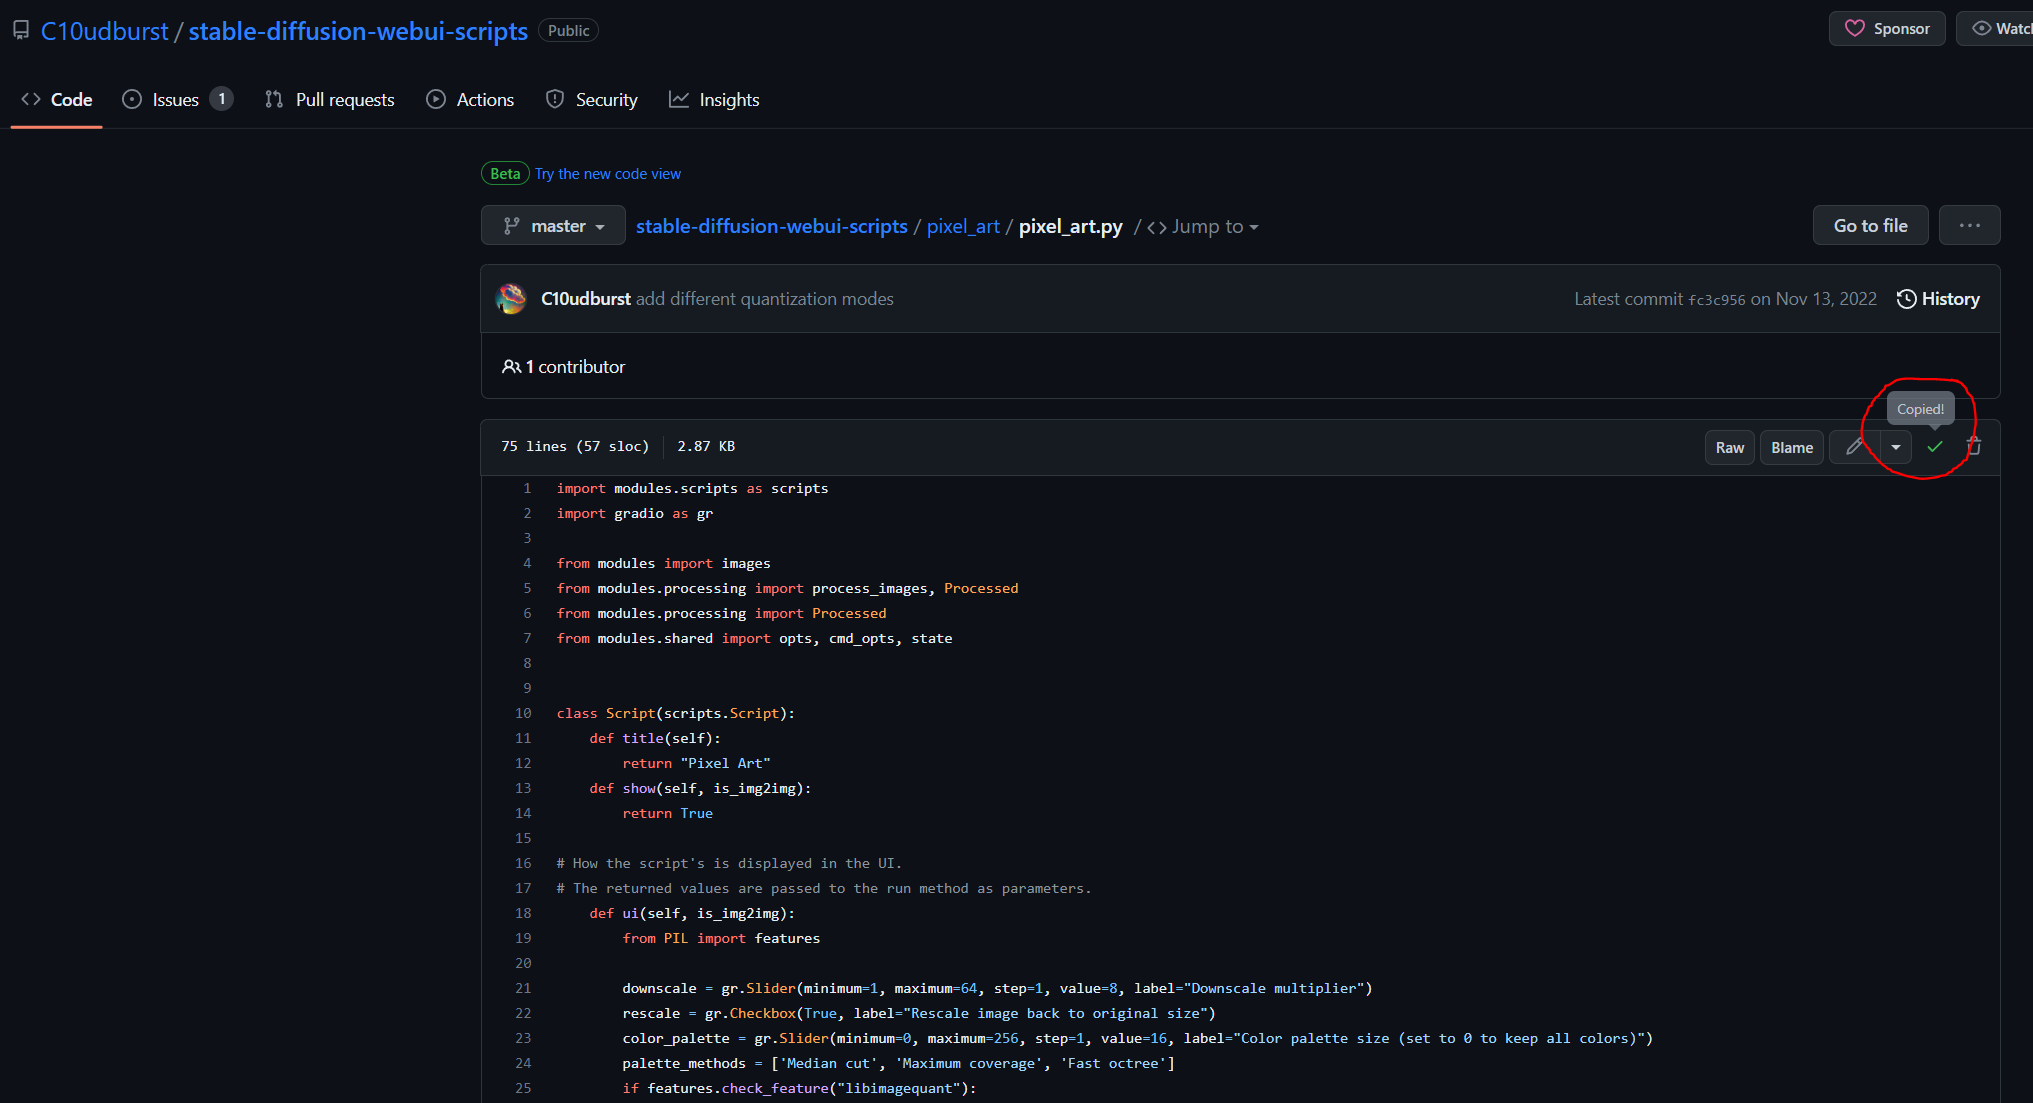
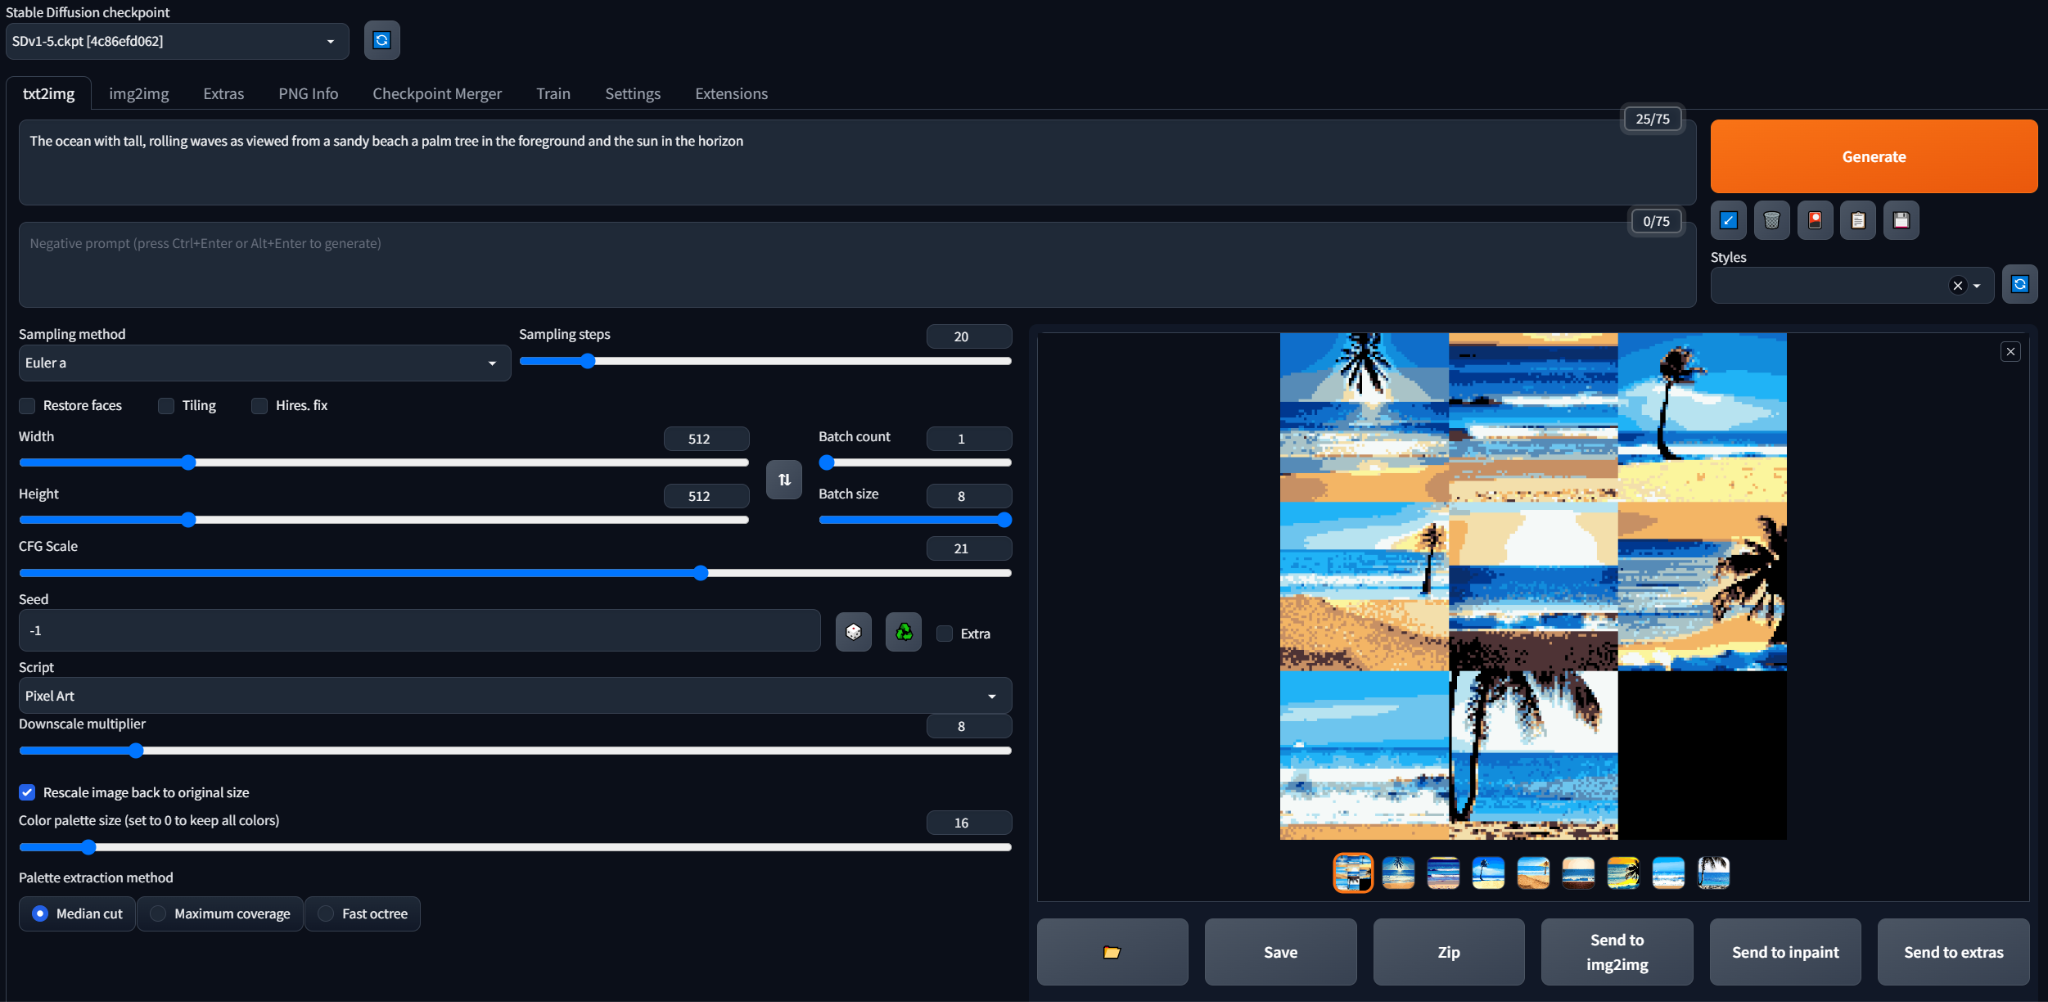
For this tutorial, I'm going to reference the pixel_art script from these repos; this is a script that gives you some options for downscaling and reducing the color palette of generated images to create some neat pixel art. However, if you're savvy enough, you can edit an existing script for additional functionality or write one yourself!
1. Save a copy of the script of your choice (in my case, the pixel_art script).

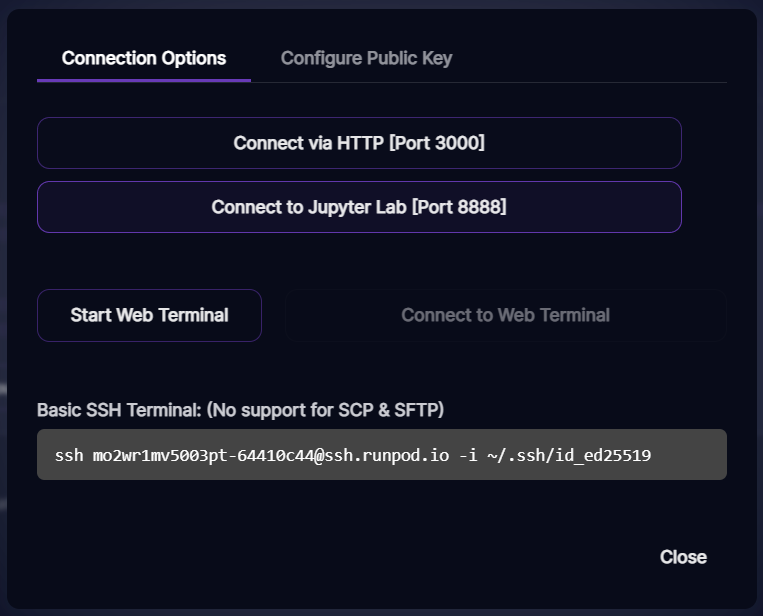
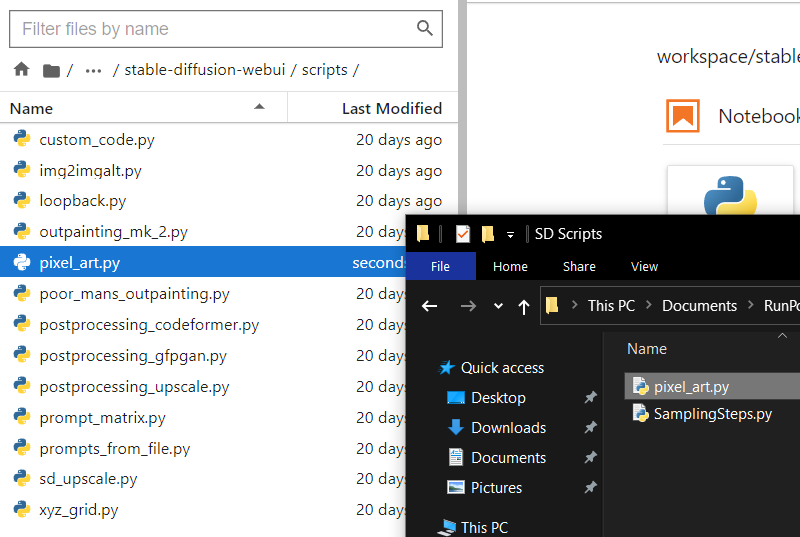
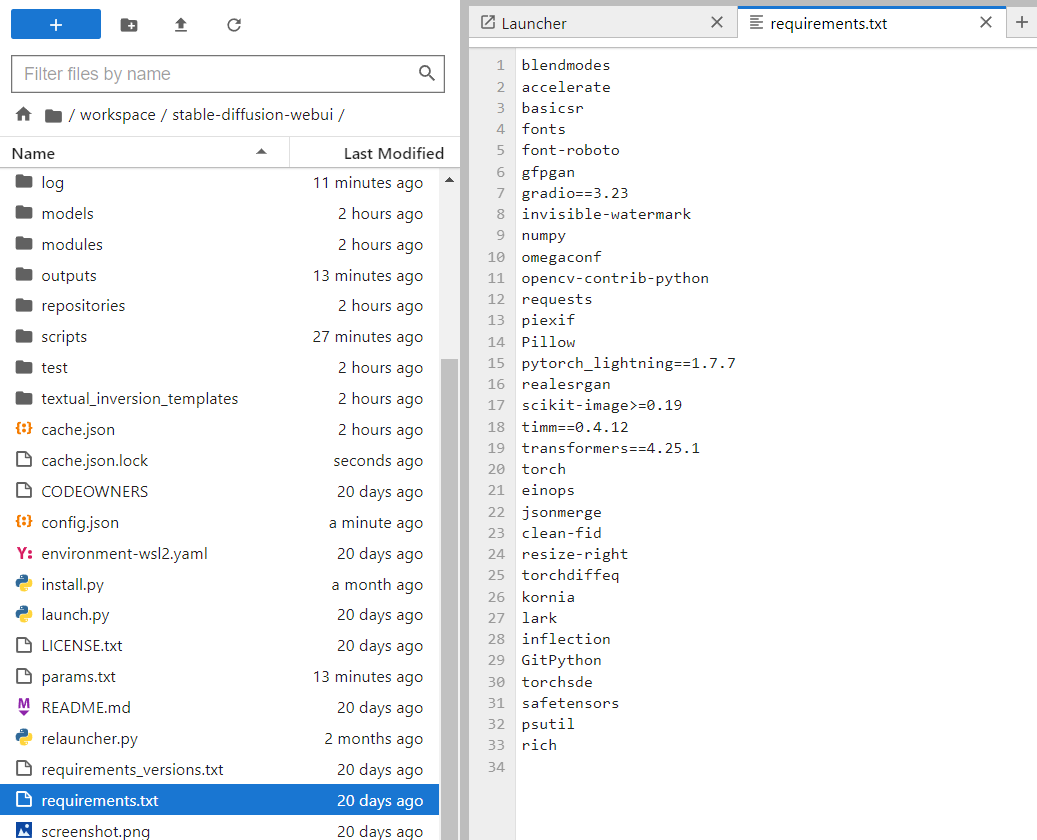
2. Connect to your Pod with Jupyter Lab and navigate to workspace/stable-diffusion-webui/scripts. This is where we'll drop the .py file we saved.
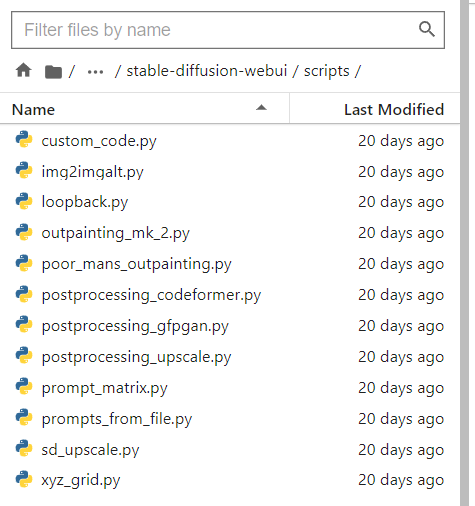
3. Copy the .py file of your script to the scripts directory in Jupyter Lab.
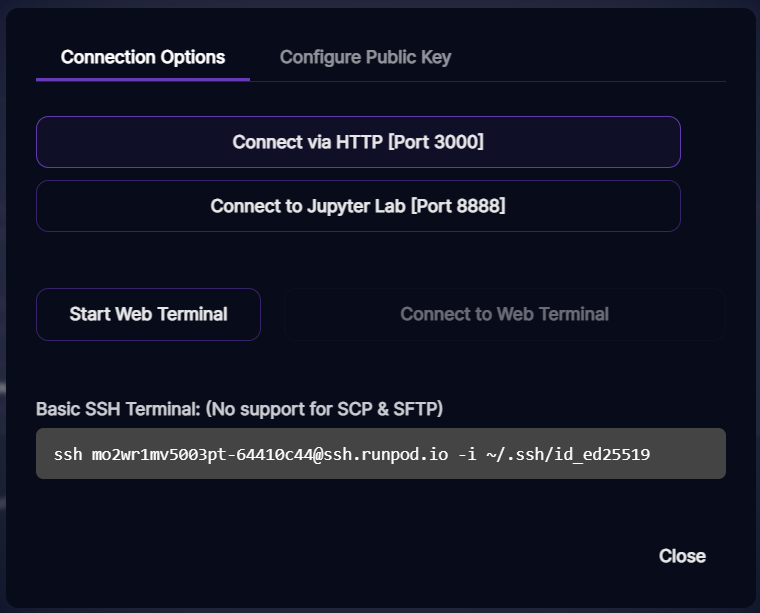
4. Connect to your Pod via HTTP to access the webUI.
If you were already connected via HTTP, hop over to the Settings tab at the top and select Reload UI to refresh your available scripts.
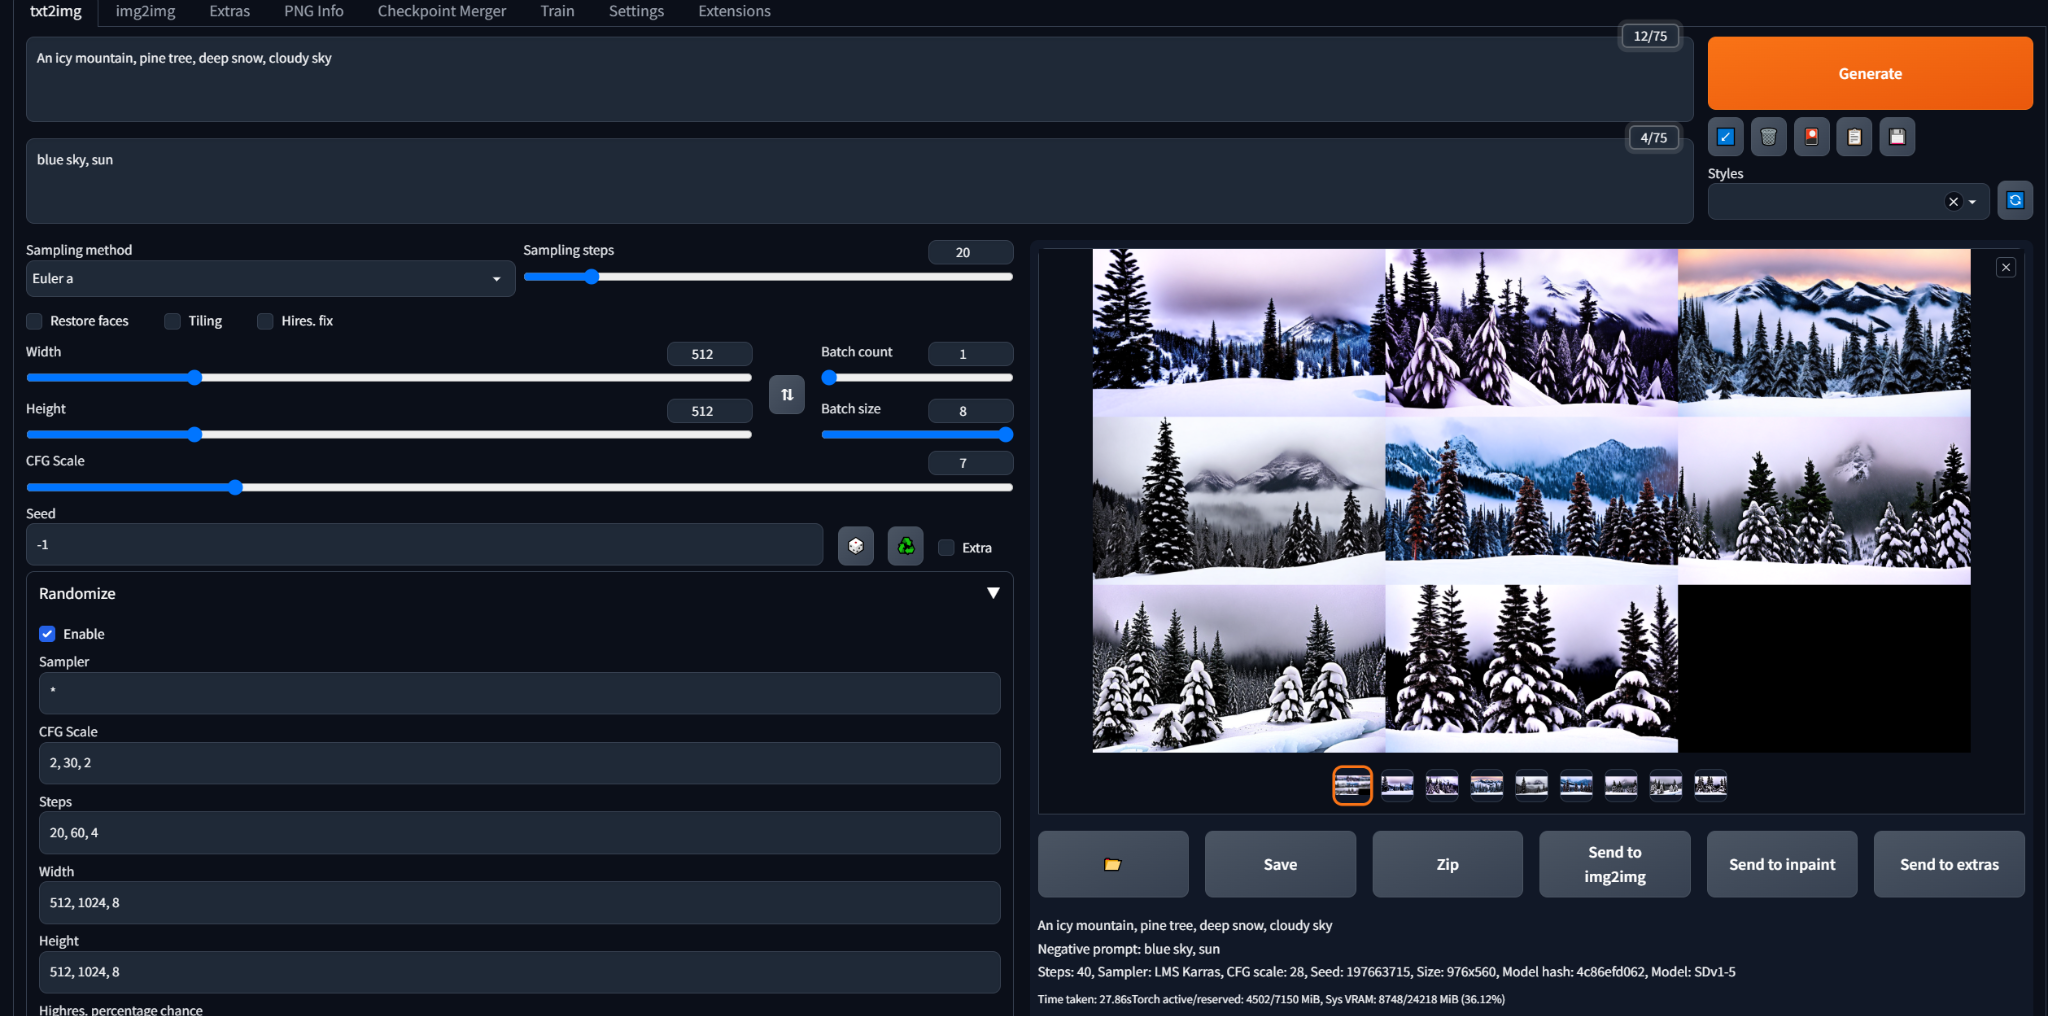
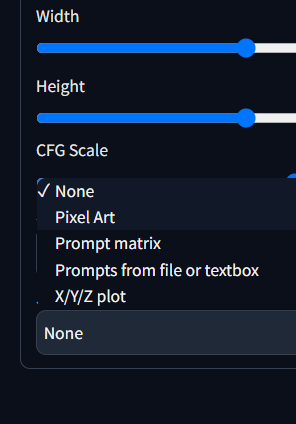
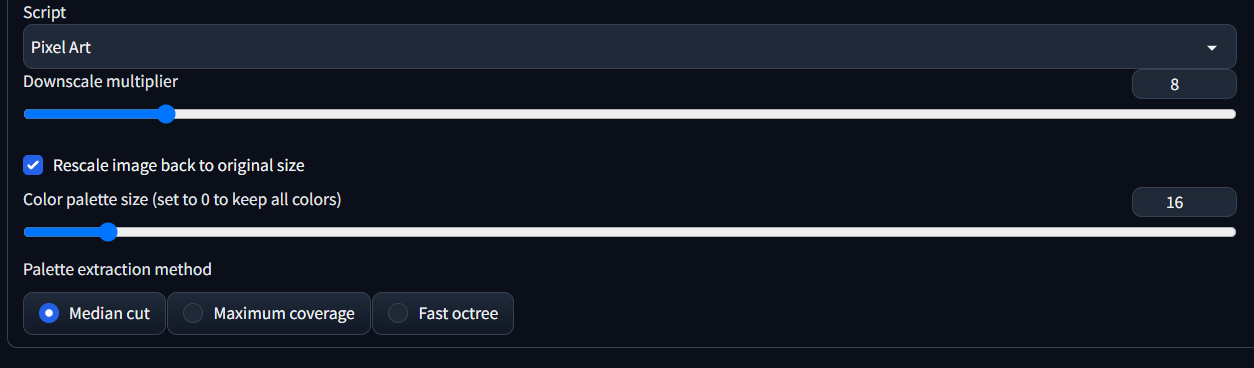
5. Select your script from the Script dropdown, configure the settings specific to your script, and generate some images!

Installing Extensions
Before we start! Each Pod instance has a requirements.txt file which lists dependencies needed for things to work properly:
Your extension will install its own dependencies. If these conflict with any of the existing ones, bad things™ can happen, so double-check before you install!
For this tutorial, I'll be showing off the Randomize extension; this one
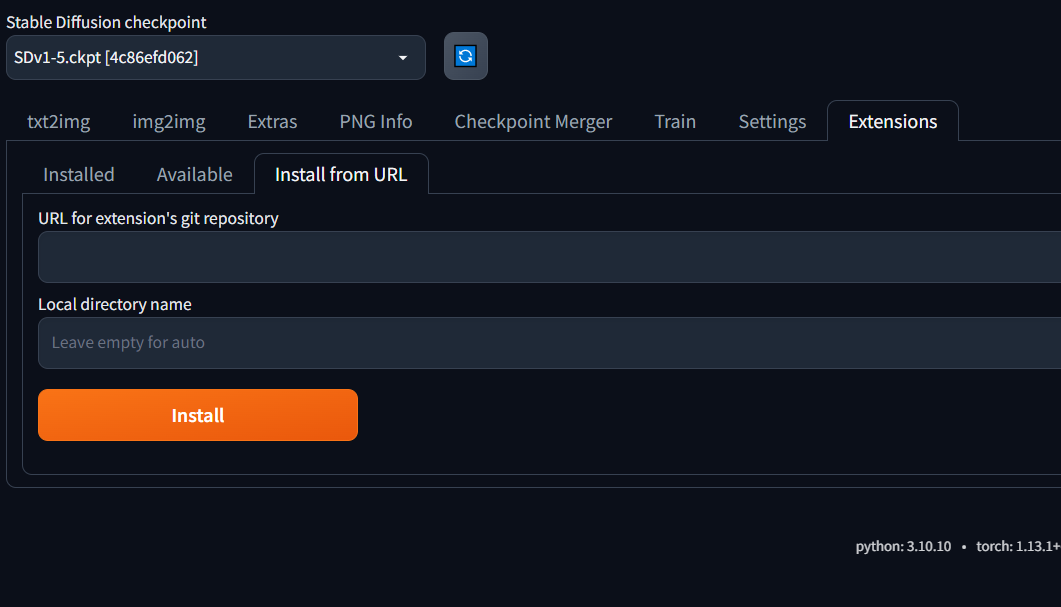
1. In the Stable Diffusion webUI, navigate to the Extensions tab at the top. If you have a specific extension in mind, you can select the Install from URL tab and provide a URL for the extension's git repo.
If you don't have a specific one in mind, select the Available tab and click the orange Load from: button (a URL to a JSON file with a bunch of extension repos should auto-populate the text box). Then, you can scroll down and select an interesting extension; I'm going to follow this path for the tutorial with the Randomize extension.
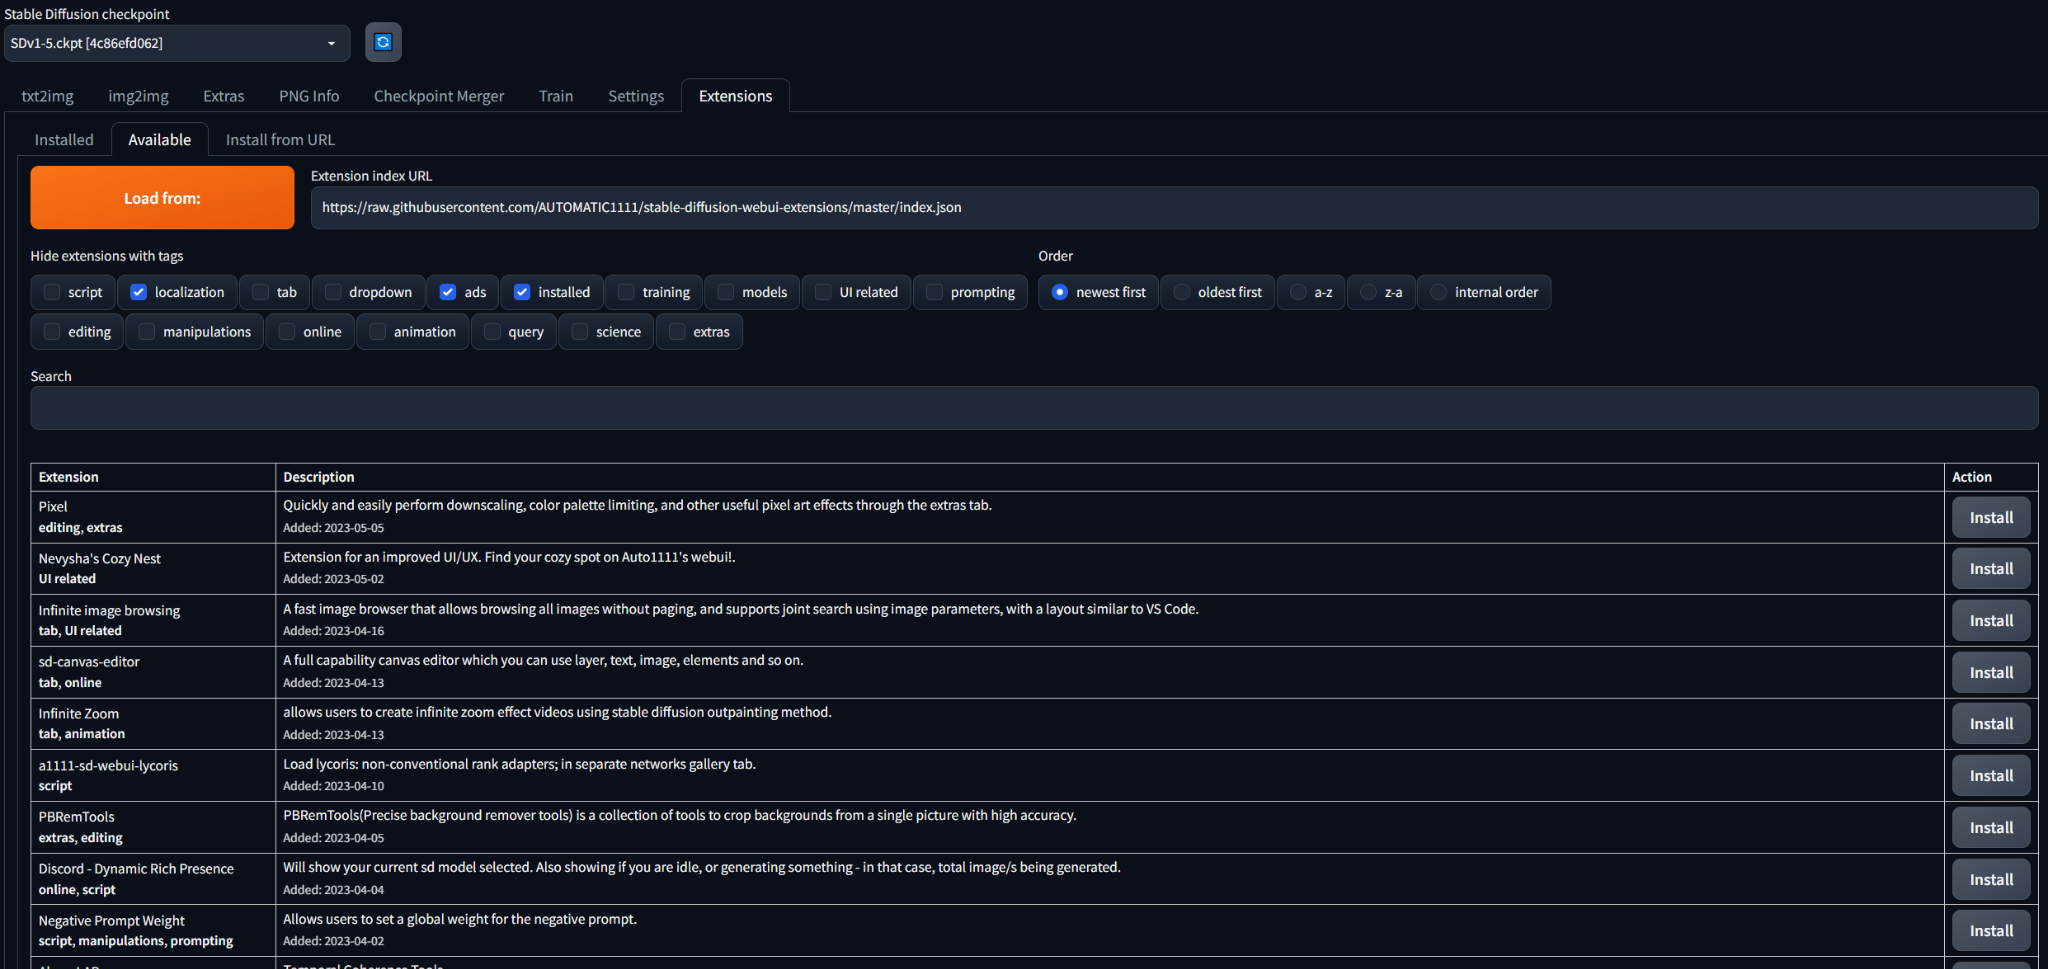
2. Select the Install button on the right for the extension of your choice, and under the Installed tab, click the orange Apply and restart UI button.
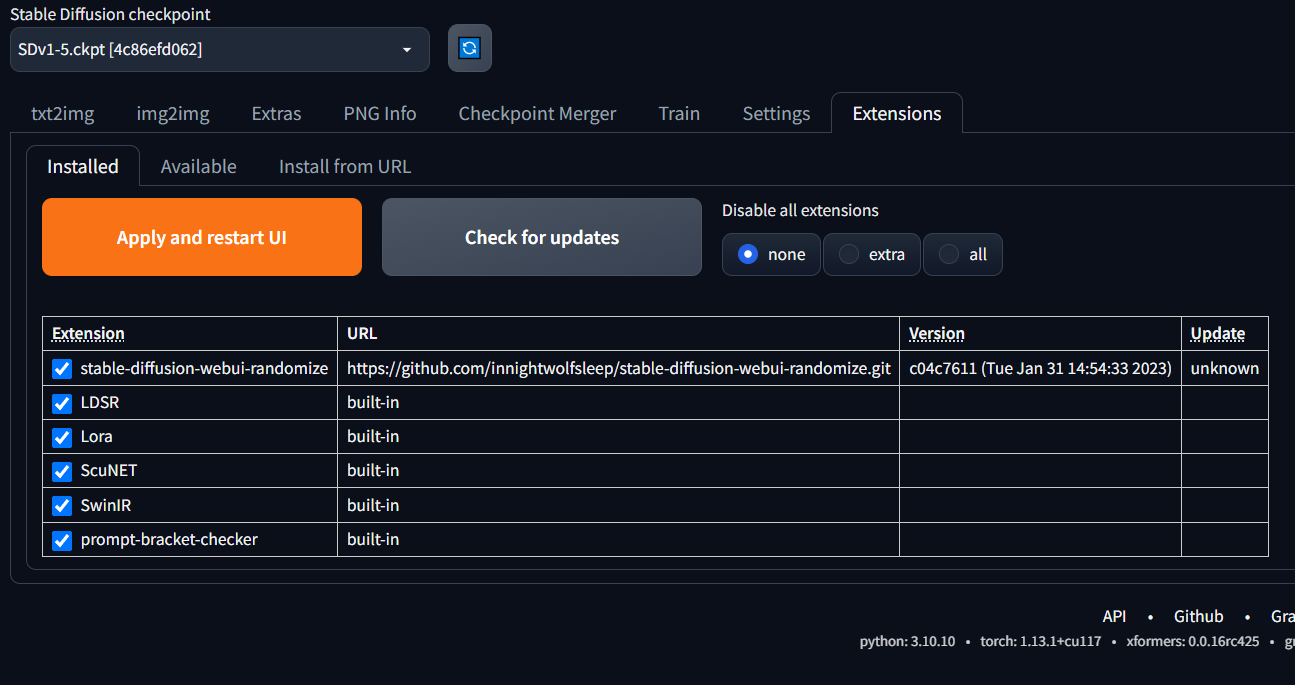
3. Once your UI has restarted, you should see the additional options your extension provides in the appropriate tab (in my case, the txt2img tab).
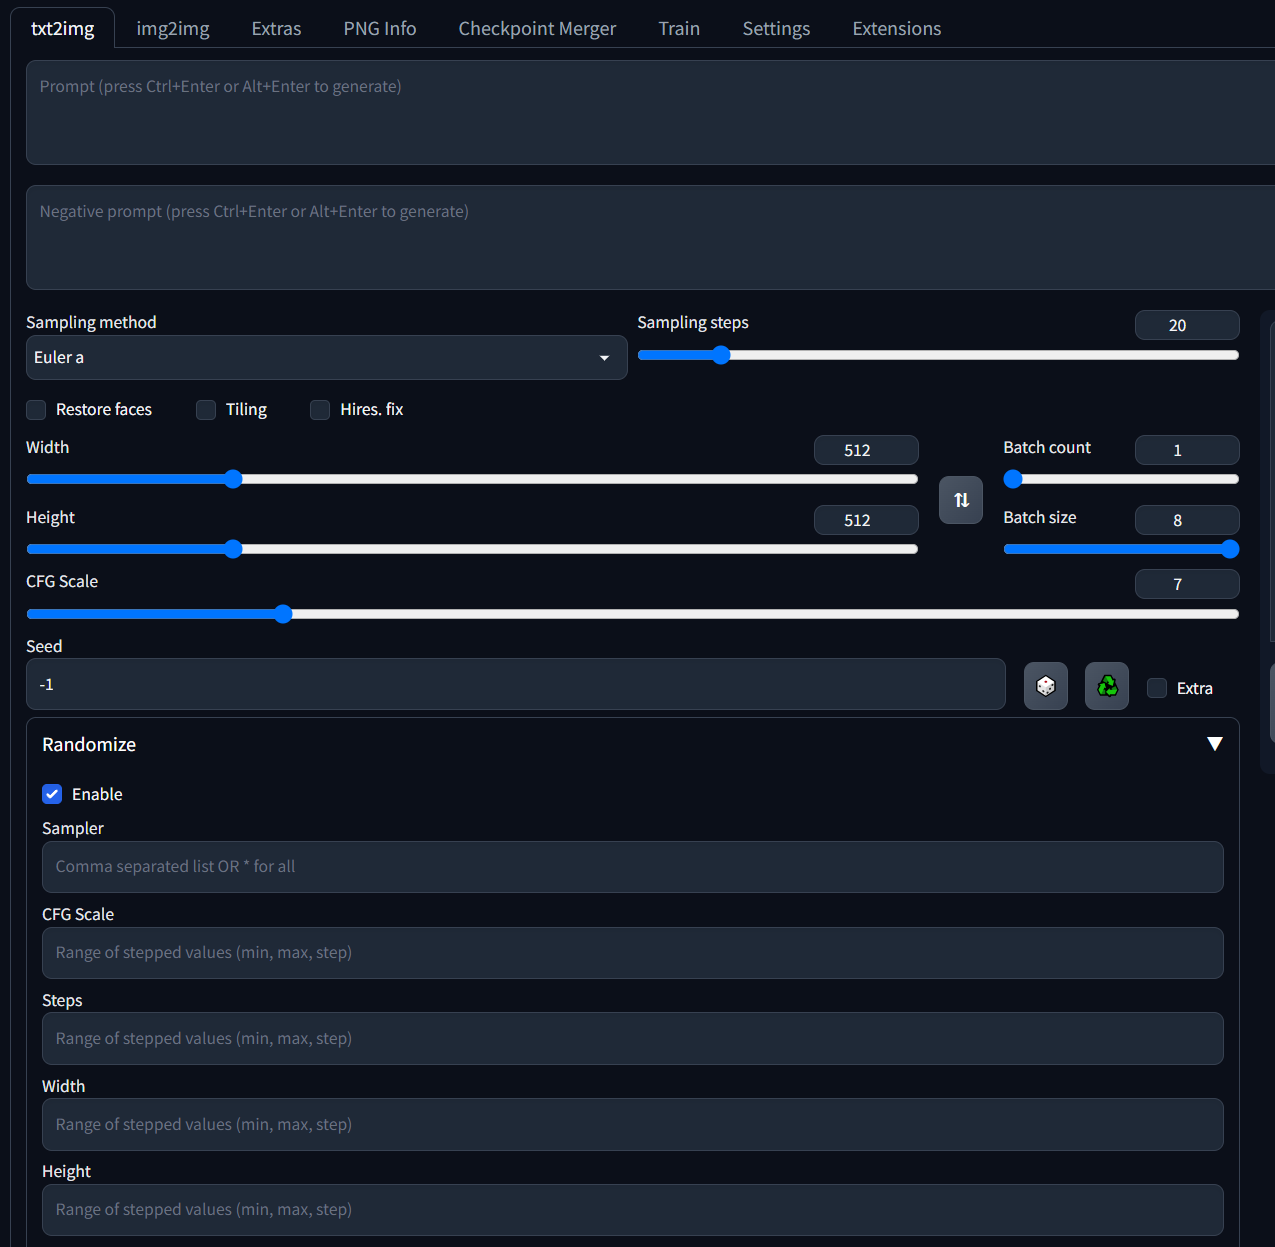
Now, you can use these new options to customize your experience with Stable Diffusion!