Using OpenPose to Annotate Poses Within Stable Diffusion
Describing poses in a text prompt, other than the most basic notation, can often feel like an exercise in frustration. "Sitting in an office chair" isn't too hard to work with, but when it comes to accurately describing things like raising arms in certain directions and proportions, leg positioning, and so on, it becomes an untenable task and you might sit there generating poses over and over and relying on RNG to finally get something close to what you want.
Fortunately, there is a way to annotate a pose in Stable Diffusion in a way that it will understand, through the magic of OpenPose. Here's how to get it set up in a fresh RunPod instance.
Installation
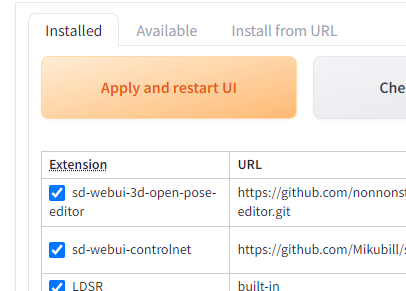
Go to the Extensions tab, click Available, and then "Load From." This will load the list of plugins available. Search for "3D Openpose" and click "Install." ControlNet should already be installed as a dependency, but if it is not, do the same if it is not already.

Then go back to the "Installed" tab and click "Apply and Restart UI." If you get a "Bad Gateway" and are unable to access your instance after this, go back to your Pod List and stop and restart the pod, and then restart Stable Diffusion.
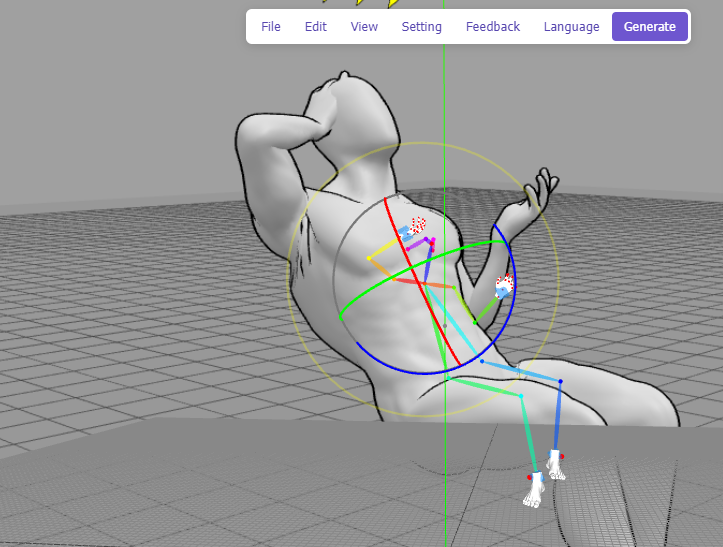
Using OpenPose
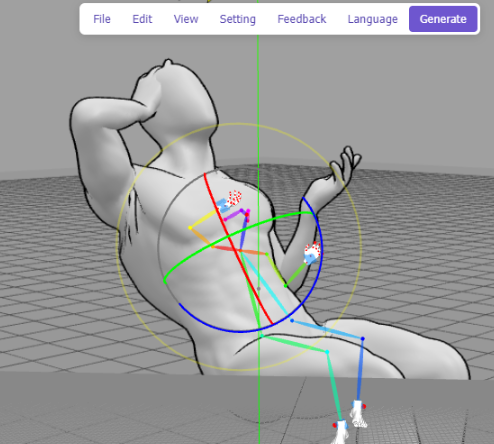
You will now have a 3D OpenPose tab available, with a 3D editor that allows you to control how your subject will be posed. The editor, while powerful and full-featured to the point where you can even alter the proportion and size of body parts, is also a bit finicky in moving limbs around. If I just need to do some simple pose editing and don't need need that higher functionality, I will use one of the myriad of 3D posers online - posemy.art has an in my opinion easier to use editor, along with a ton of pre-made poses to import.
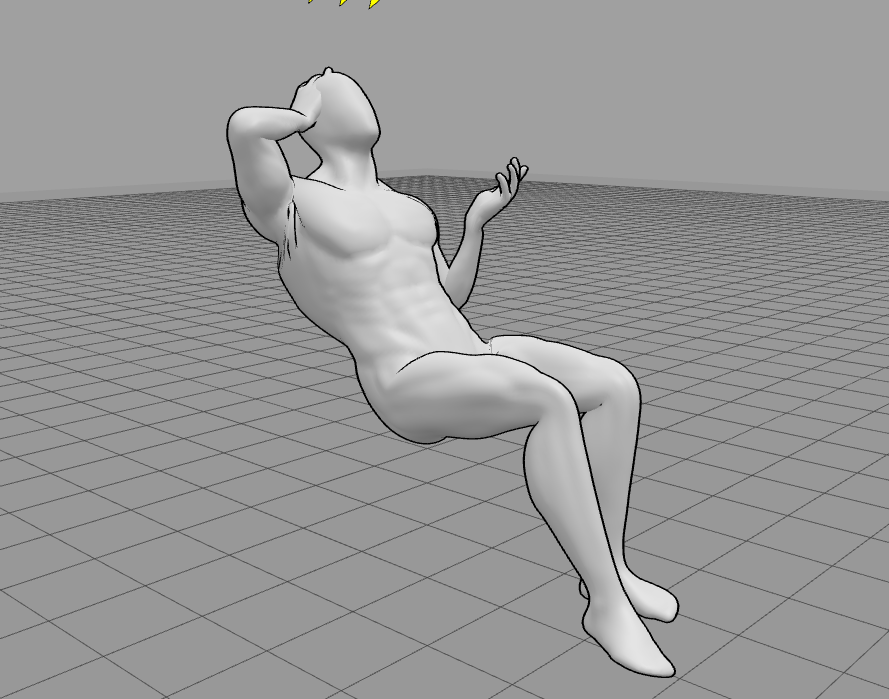
Save an image of the pose you want to use (you can use a real-life photo if you prefer) and then under File -> Detect from Image, upload the pose, and then click Generate. Note that the editor will often lack depth information on how the subject is posed, so it will do its best to extrapolate on what it's given. You'll generally have the best results with a 3/4th angle pose to give it as much help as possible.
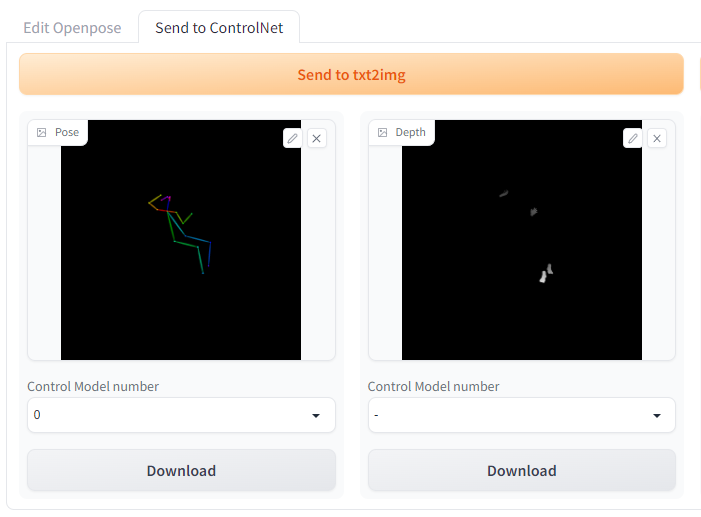
Click Generate, and then set the Control Model number to 0 and send to your preferred module (in this case, we'll use txt2img)
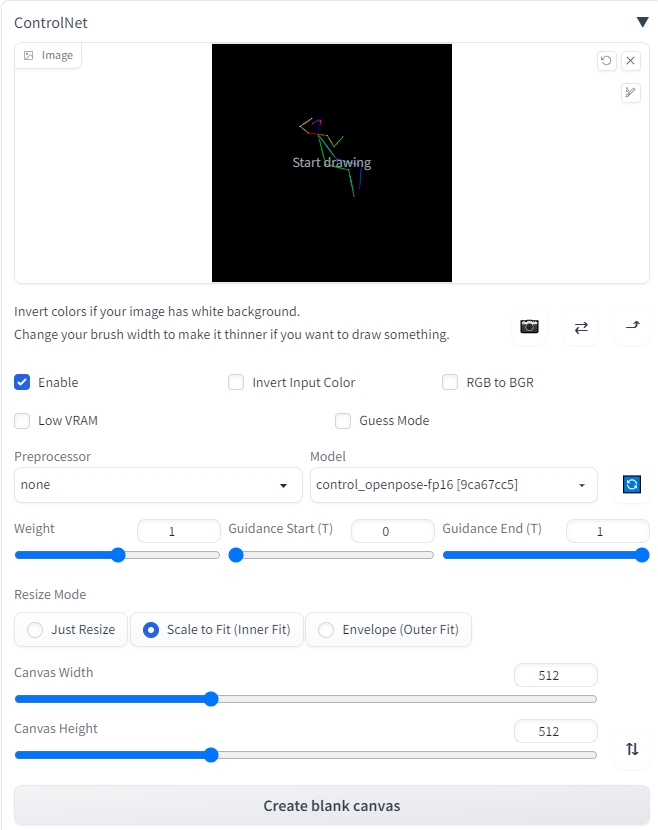
Under ControlNet, click "Enable" and then be sure to set the control_openpose model. Note that Stable Diffusion will use the level of zoom present in the pose, so zooming in closer to the image will result in the subject being closer in the image. By default, the weight will be set to 1, which should ensure pretty accurate adherence to the pose.
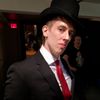
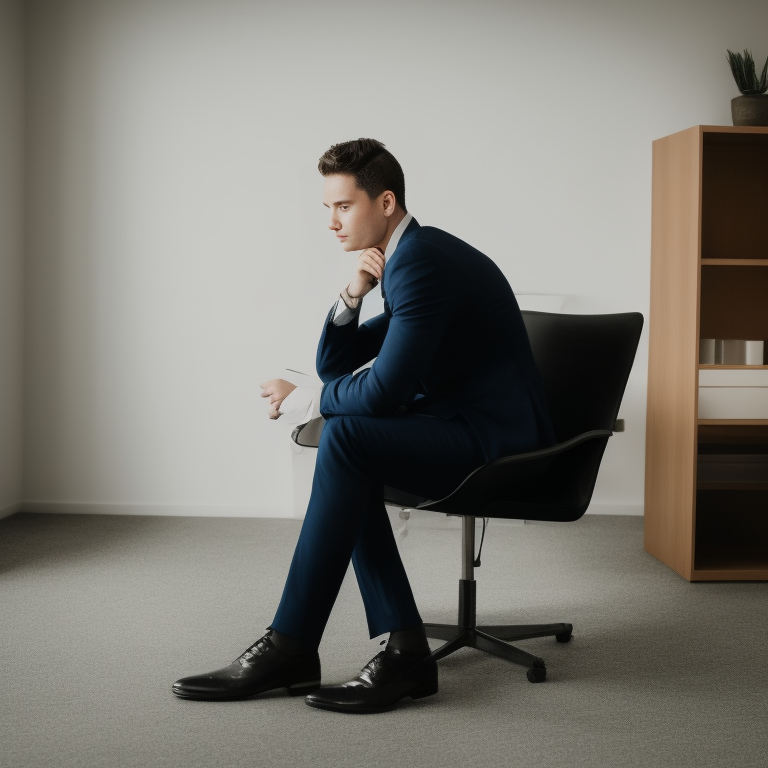
However, much like the CFG scale, weight is a tradeoff between matching the input and introducing artifacts. Using the prompt "full-body, a young man sitting in an office chair, instagram, softbox with flash, computers in background, suit and tie, office setting" along with the following weights will give you examples like this (pay special attention to the arms):
Off:
0.25:

0.5:

1.0:

Need further guidance on how to pose subjects in Stable Diffusion? Drop by and check out our artist community on our Discord!