RunPod Partners With RandomSeed to Provide Accessible, User-Friendly Stable Diffusion API Access
RunPod is delighted to collaborate with RandomSeed by providing the serverless compute power required to create generative AI art through their API access. The mission of RandomSeed is to help developers build AI image generators by providing a hosted AUTOMATIC1111 API that can create images on-demand through API calls, saving developers the burden of having to host and manage their own infrastructure for Stable Diffusion.
The Benefits of Serverless Pricing
RandomSeed helps leverage the serverless capacity of RunPod by providing a user-friendly method to interact with Stable Diffusion through API calls with none of the technical expertise that would normally be required in building and maintaining such a setup. All you have to do is pass your parameters to RandomSeed in an API request and you'll have your image served wherever it needs to go. The end result is that you only pay for the server time you actually use, which ends up costing you an average of a cent (or even less) per image. This means that your costs scale with your needs, compared to the static, per-hour price of renting a pod.
RandomSeed even has a playground that you can use to test out the service and see if it's a good fit for you:
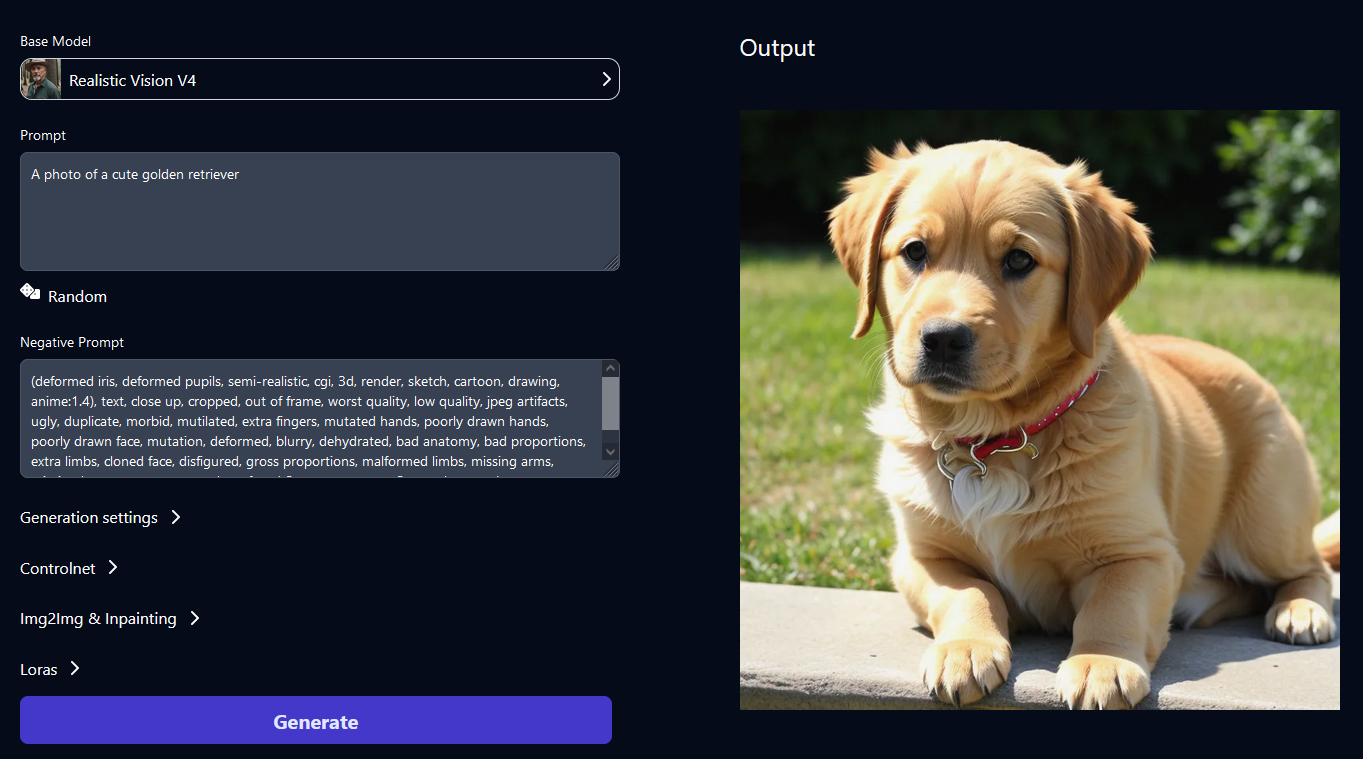
AUTOMATIC1111 API documentation
RandomSeed has graciously contributed the following documentation on how to pass requests to the Stable Diffusion API.
AUTOMATIC1111 has emerged as a leading tool for image generation through stable diffusion, boasting a comprehensive API that enables a multitude of functions. However, it’s near impossible to find in-depth documentation explaining what each parameter does. In this article, we attempt to share our findings from using the API while running our own cloud-based AUTOMATIC1111 API at RandomSeed.
txt2img
| prompt: (string, required) | A text string that describes the image you want to generate. |
| negative_prompt: (string) | A text description on what you don't want to see in the image |
| steps: (integer, defaults to 50) | The number of denoising steps used by the AI model when generating an image from the text prompt. A higher number results in longer generation time, and does not necessarily guarantee higher image quality. |
| seed: (integer, defaults to -1) | Value that determines the output of a random number generator. You can get ALMOST the same image if you provide the same generation settings and the seed. |
| sampler_name: (string, required) | Name of the sampler method you will be using to generate an image. Image output varies slightly depending on the method. Samples available include the following:
Euler a Euler LMS Heun DPM DPM2 a DPM++ 2S a DPM++ 2M DPM ++ SDE DPM fast DPM adaptive LMS Karras DPM2 a Karras DPM++ 2S a Karras DPM++ 2M Karras DPM++ SDE Karras DDIM PLMS UniPC |
| n_iter (integer, defaults to 1) | Specifies the number of iterations per batch generation. |
| batch_size (integer, defaults to 1) | Specifies the number of batches you want to run in parallel. You can use this parameter to run bulk image generations along with n_iter. You can do n_iter = 10 and batch_size = 10 to generate 100 images in 10 iterations |
| width (integer, defaults to 512) | Width of the image you want to generate, |
| height (integer, defaults to 512) | Height of the image that you want to generate |
| cfg_scale (float, defaults to 7.0) | Governs how closely it follows the prompt. 7 or 7.5 usually works best. You can increase the value if the generated image doesn’t match your prompt. Low numbers (0-6 ish): You're telling SD that it can ignore your prompt. Mid-range (6-10 ish): You're telling SD you'd like it to do what you're asking, but you don't mind a bit of variation. High numbers (10+): We found that high cfg often results in a really bad image. |
| restore_faces: (boolean) | Allows you to improve the face if set to true. Can make a face slightly different. |
| enable_hr: (boolean, defaults to false) | Set this to true if you want to do highres upscaling. Be careful though because it can result in AUTOMATIC1111 being killed if a host machine does not have enough VRAM. |
| hr_upscaler (string) | Method you can use to do highres upscaling. Method you can use to do highres upscaling. Some of the popular methods: Latent, Latent (antialiased), Latent (bicubic), Latent (bicubic antialiased), Latent (nearest), Latent (nearest-exact), None, Lanczos, Nearest, ESRGAN_4x, R-ESRGAN 4x+, R-ESRGAN 4x+ Anime6B |
| denoising_strength (float, defaults to 0.75) | Controls the likeness of the generated image during highres upscaling A value between 0.5 and 1 is optimal for maintaining image consistency. |
| alwayson_scripts (object) | You can specify various script extensions here. For instance, you can use the controlnet extension script here to generate different kinds of images. Make sure to clone the controlnet repo to /stable-diffusion-webui/extensions directory in automatic1111 repo. controlnet object |
ControlNet Model to Module Mapping
| model | module |
| control_v11p_sd15_canny | canny |
| control_v11p_sd15_mlsd | MLSD |
| control_v11p_sd15_depth | depth, depth_leres, depth_leres_boost |
| control_v11p_sd15_normalbae | normal-bae |
| control_v11p_sd15_seg | segmentation |
| control_v11p_sd15_inpaint | inpaint, inpaint_only, inpaint_only+lama |
| control_v11p_sd15_lineart | lineart, lineart_coarse, lineart_standard |
| control_v11p_sd15s2_lineart_anime | lineart_anime |
| control_v11p_sd15_openpose | openpose, openpose_face, openpose_faceonly, openpose_full, openpose_hand |
| control_v11p_sd15_scribble | scribble_pidinet, scribble_hed, scribble_xdog, fake_scribble |
| control_v11p_sdd15_softedge | softedge_hed |
| control_v11p_sd15_tile | tile_resample, tile_colorfix, tile_colorfix+sharp |
| control_v11e_sd15_shuffle | shuffle |
| Control_v11e_Sd15_ip2p aka instruct Pix2Pix | null |
| control_v1p_sd15_grcode_monster | null |
img2img
| prompt: (string, required) | Text string that describes the image you want to generate |
| negative_prompt: (string, defaults to empty string) | A text description on what you don't want to see in the image |
| steps: (integer, defaults to 50) | The number of denoising steps used by the AI model when generating an image from the text prompt. A higher number results in longer generation time, and does not necessarily guarantee higher image quality. |
| sampler_name: (string, required) | Name of the sampler method you will be using to generate an image. Image output varies slightly depending on the method. Samples available include the following: Euler a Euler LMS Heun DPM2 DPM2 a DPM++ 2S a DPM++ 2M DPM ++ SDE DPM fast DPM adaptive LMS Karras DPM2 a Karras DPM++ 2S a Karras DPM++ 2M Karras DPM++ SDE Karras DDIM PLMS UniPC |
| n_iter (integer, defaults to 1) | Specifies the number of iterations per batch generation. |
| batch_size (integer, defaults to 1) | Specifies the number of batches you want to run in parallel. You can use this parameter to run bulk image generations along with n_iter. You can do n_iter = 10 and batch_size = 10 to generate 100 images in 10 iterations |
| width (integer, defaults to 512) | Width of the image you want to generate. |
| height (integer, defaults to 512) | Height of the image that you want to generate. |
| cfg_scale (float, defaults to 7.0) | Governs how closely it follows the prompt. 7 or 7.5 usually works best. You can increase the value if the generated image doesn’t match your prompt. Low numbers (0-6 ish): you're telling SD that it can ignore your prompt. Mid-range (6-10 ish): you're telling SD you'd like it to do what you're asking, but you don't mind a bit of variation. High numbers (10+): we found that high cfg often results in a really bad image. |
| include_init_images (boolean) | Set to true if you plan to include starting image(s) in the payload, or if you want to do inpainting on the image. |
| denoising_strength (float, defaults to 0.75) | Determines how close the generated image will be to the provided image. The closer it is to 0, the closer it will be to the provided image. |
| int_images string[] | List of base64 encoded images that will be used for generation |
| mask: string, defaults to null | Base64 encoded image that will be used for inpainting. You need to specify the region of the starting image that you want modified. |
| inpainting_mask_invert: integer, defaults to 0 | Determines whether you want to inpaint the masked object or outside of the masked object. 0 will inpaint the masked object. 1 will inpaint the region outside of the masked object. This parameter is required for inpainting. |
| inpainting_fill: integer, defaults to 0: | Determines how masked content should be displayed.
It can be either 0, 1, 2, or 3. 0 -> “fill” 1 -> “original” 2 -> “latent noise” 3 -> “latent nothing” This parameter is required for inpainting. |
| resize_mode: integer, defaults to 0 |
It can be either 0, 1, 2, or 3. 0 -> “just resize” 1 -> “crop and resize” 2 -> “resize” 3 -> “fill” This parameter is required for inpainting. |
| inpaint_full_res_padding: integer, defaults to 0 | Padding around the masked object to inpaint in full resolution This parameter is required for inpainting. |
| inpaint_full_res: boolean, defaults to true | Refers to the inpaint area. It can be either true or false. If set to true, inpaint area will be the same resolution as the starting image. If set to false, inpaint area will stretch to fit the starting image. This parameter is required for inpainting. |
| image_cfg_scale: float | Determines how much the result resembles your starting image, so a lower value means a stronger effect. This is the exact opposite of cfg_scale. |
Example Calls
We’re going to show you how you can use the API to do some basic image generations. Make sure that you have cloned the auto1111 repo from here, and have it running locally on your PC.
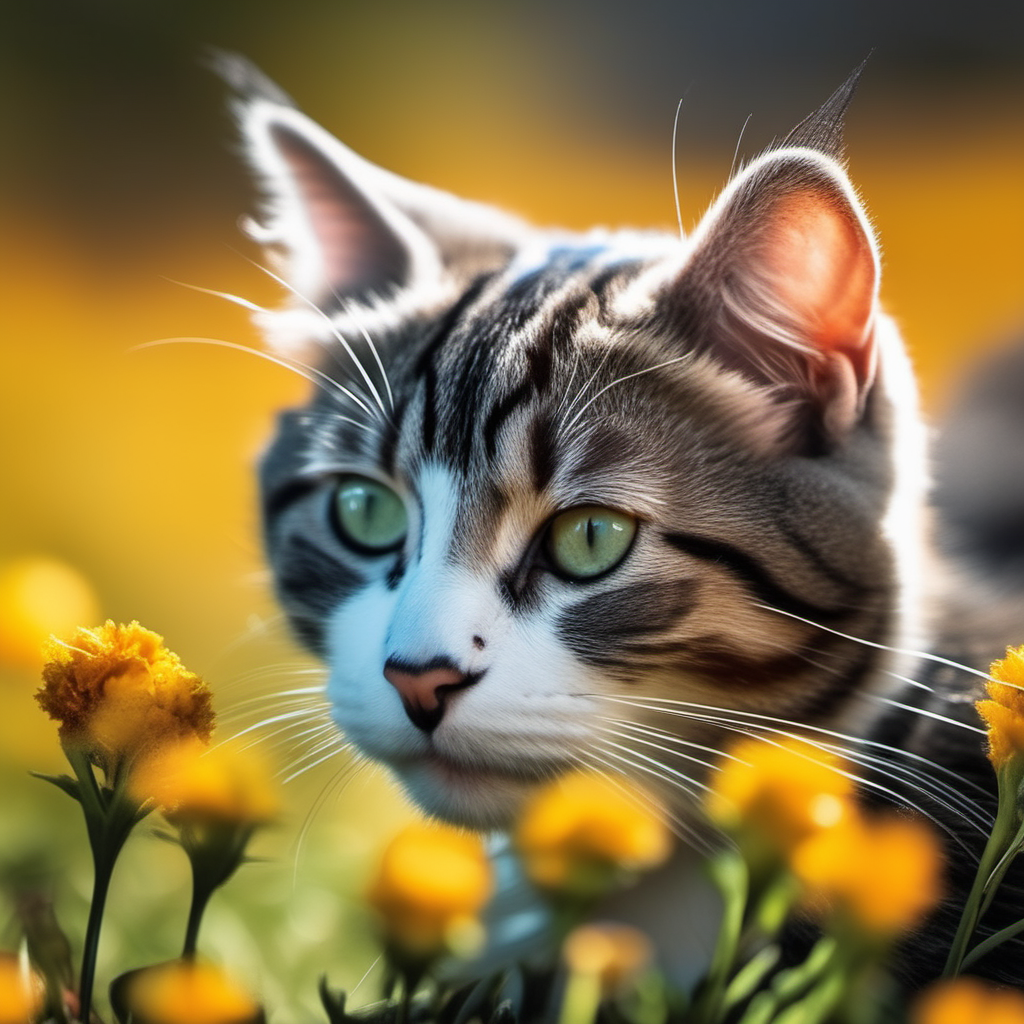
txt2img generation:
curl http://127.0.0.1:7860/sdapi/v1/txt2img \
  -H "Content-Type: application/json" \
  -d '{
   “prompt”: “Cute cat”,
   “negative_prompt”: “ugly, out of frame”,
   “width”: 1028,
   “height”: 1028,
   “cfg_scale”: 7,
   “sampler_name”: “Euler a”,
   “steps”: 25,
   “n_iter”: 1,
   “seed”: 3315716384
  }'
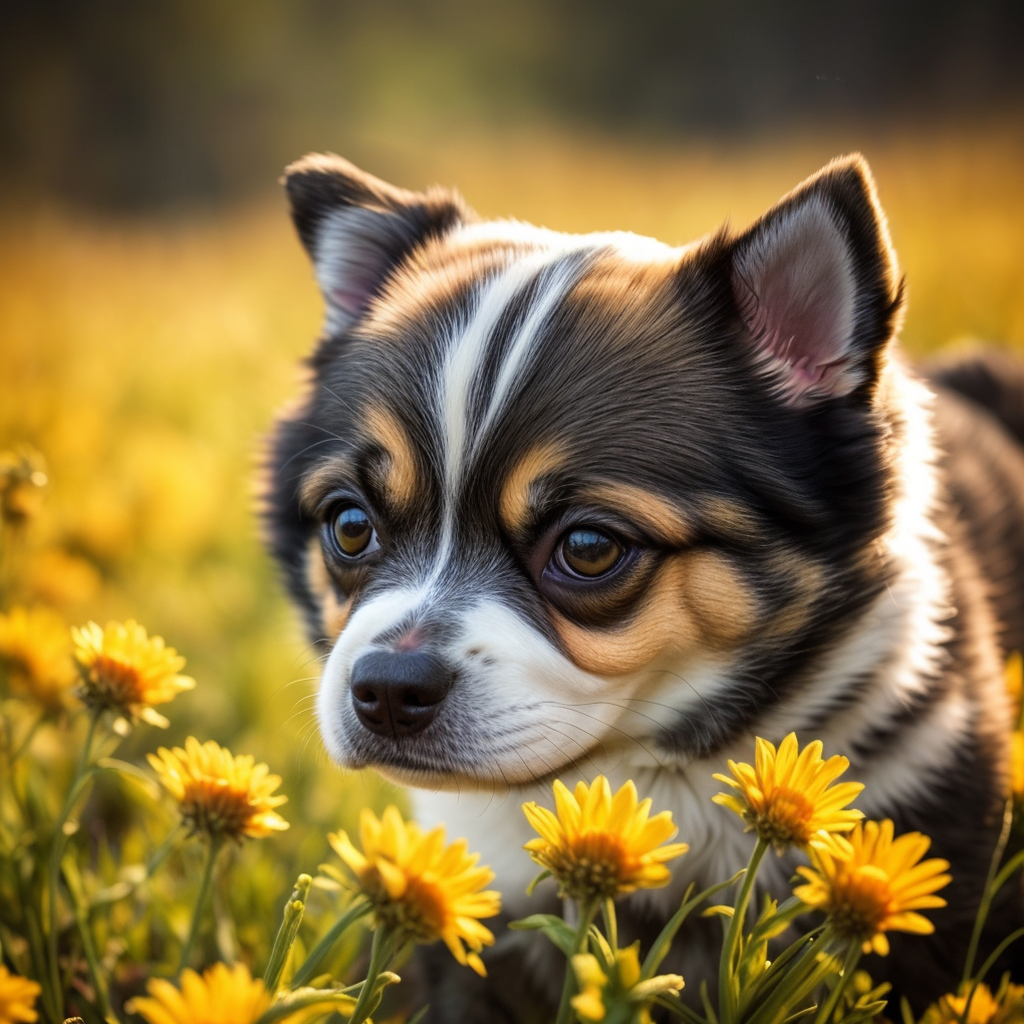
img2img generation:

curl http://127.0.0.1:7860/sdapi/v1/img2img \
  -H "Content-Type: application/json" \
  -d '{
   “prompt”: “cute dog”,
   “negative_prompt”: “ugly, out of frame”,
   “width”: 1028,
   “height”: 1028,
   “cfg_scale”: 7,
   “sampler_name”: “Euler a”,
   “steps”: 25,
   “n_iter”: 1,
   “seed”: -1,
   “include_init_images”: true,
   “init_images”: [“....”], //using the base64 encoded image from the txt2img api call from above
   “denoising_strength”: 0.6
  }'
Inpainting example:
We’re going to inpaint over the dog’s ears for this example.
curl http://127.0.0.1:7860/sdapi/v1/img2img \
  -H "Content-Type: application/json" \
  -d '{
   “prompt”: “cute dog, (smaller ears:1.4)”,
   “negative_prompt”: “ugly, out of frame”,
   “width”: 1028,
   “height”: 1028,
   “cfg_scale”: 7,
   “sampler_name”: “Euler a”,
   “steps”: 25,
   “n_iter”: 1,
   “seed”: -1,
   “include_init_images”: true,
   “init_images”: [“....”], //using the base64 encoded image from the img2img api call from above
   “mask”: “...”, // base64 encoded mask object. It should cover the dog’s ears
   “denoising_strength”: 0.6,
   “image_cfg_scale”: 0.7,
   “inpainting_fill” : 1,
   “inpaint_full_res”: false,
   “inpainting_mask_inverse”: 0,
   “inpaint_full_res_padding”: 32
  }'
QR Monster ControlNet (Illusion Diffusion)
QR Monster Controlnet is taking the internet by storm. If you want to generate images like this, or this, you can make the request like below:
curl http://127.0.0.1:7860/sdapi/v1/img2img \
  -H "Content-Type: application/json" \
  -d '{
   “prompt”: “cute dog”,
   “negative_prompt”: “ugly, out of frame”,
   “width”: 1028,
   “height”: 1028,
   “cfg_scale”: 7,
   “sampler_name”: “Euler a”,
   “steps”: 25,
   “n_iter”: 1,
   “seed”: -1,
   “include_init_images”: true,
   “init_images”: [“....”], //using the base64 encoded image from the img2img api call from above
   “denoising_strength”: 0.7,
   “controlnet_args”: [
      {
         “input_image”: “...”, //base64 encoded image. You can use this image but convert it to base64 string: https://i.imgur.com/9NRTUvK.png
          “module”: null,
          “model”: “control_v1p_sd15_qrcode_monster”
      }
   ]
  }'
Conclusion
We hope this documentation gives you a good starting point for generating images with AUTO1111 API. As you work with the API, don't be afraid to tweak the settings and observe its impact. Refer to the documentation and examples as needed. With some practice, you'll be leveraging AUTOMATIC1111 to create amazing AI artworks.1 Let us know if you make something cool!