Run huggingface spaces on RunPod!


You can run any Huggingface space on Runpod!
As every Huggingface space has options to run it with docker now
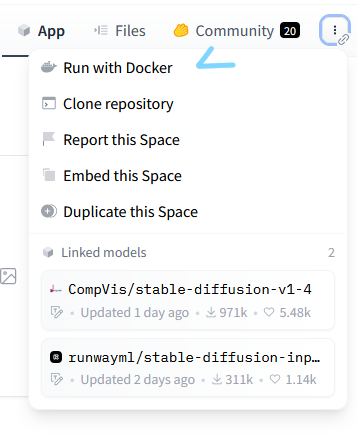
this gives the option of running the space locally, which we can use to run the image with runpod
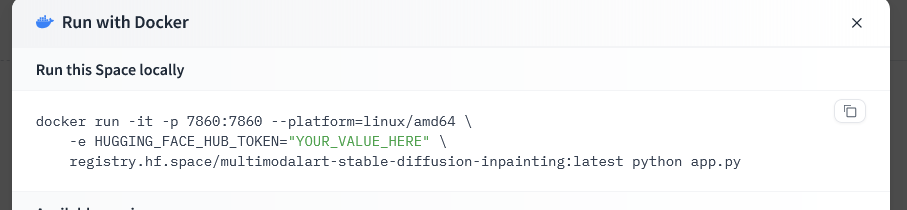
here,
- 7860 is the port being forwarded here in the example above, this will be your port value
- HUGGING_FACE_HUB_TOKEN, is your huggingface token, you can generate one by logging in to your huggingface account and going here
- in the example above, our container image will be at "registry.hf.space/multimodalart-stable-diffusion-inpainting:latest" (as you can from the image),
now, go to, My templates on runpod
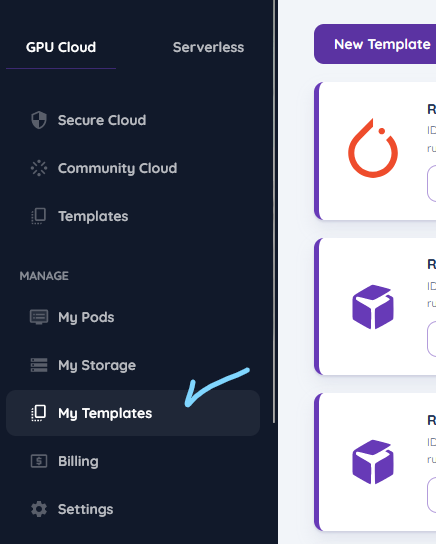
and go ahead and create a new template, by clicking new template
- set the "container image", as the container image specified in the docker container, in our case this is registry.hf.space/multimodalart-stable-diffusion-inpainting:latest, which we got from point 3 above
- set the "Expose HTTP Ports" to 7860, since that's the port being exposed, which we got from point 1 above
- open "Environment variables" in the bottom of the template, and set it to
- key : HUGGING_FACE_HUB_TOKEN
- value : (your huggingface hub token, you got from point 2 above) - set the docker command as "bash -c 'python app.py'"
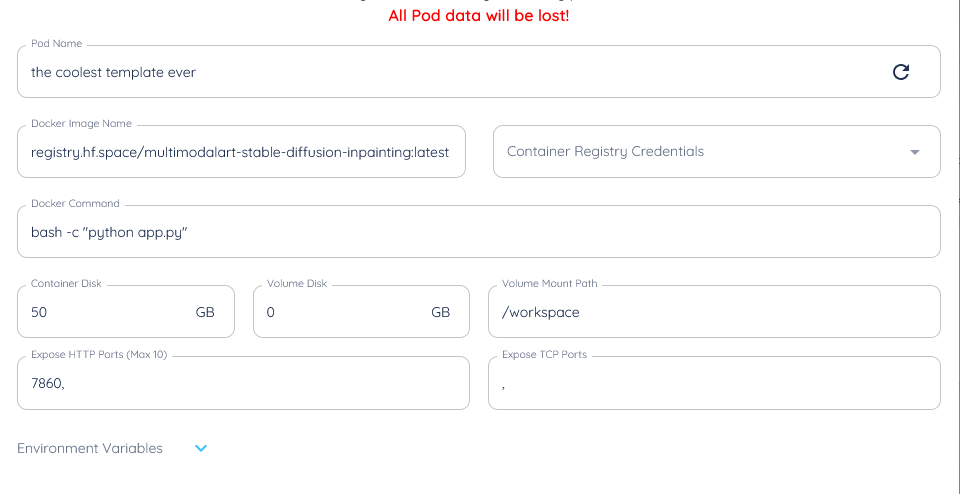
here's a template example, if you're not sure about the container disk, try it with a few configurations until it works, we can set the volume disk to zero, since we're not going to be permanently storing anything
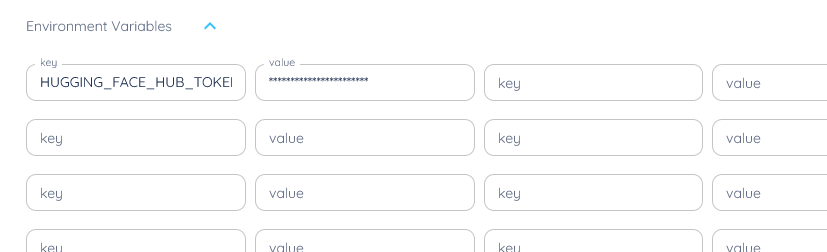
and the environment variables at the bottom
now go ahead and deploy the on the server you wish to
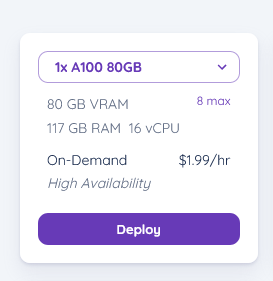
I'm using an A100 for my example, because it has a high amount of vram, but you can trial and error this to see what works best for you, go ahead and click deploy then,
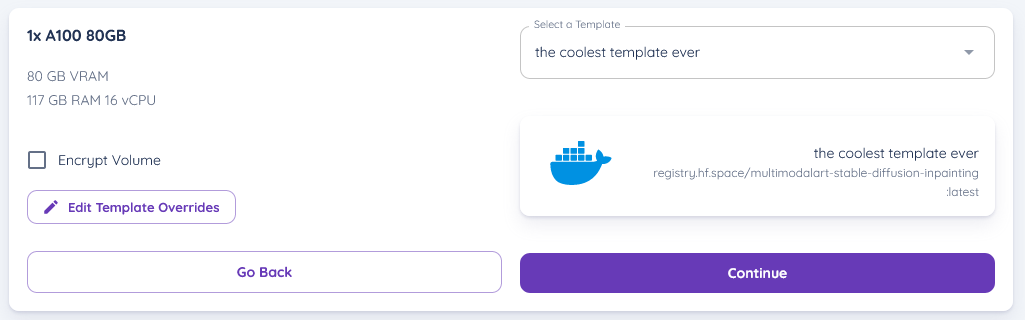
ensure you select the template you're using, as you can see I've selected the templat which I'm using from above, complete all the deployment steps
now go to your screen and click on "logs" don't click on connect yet!
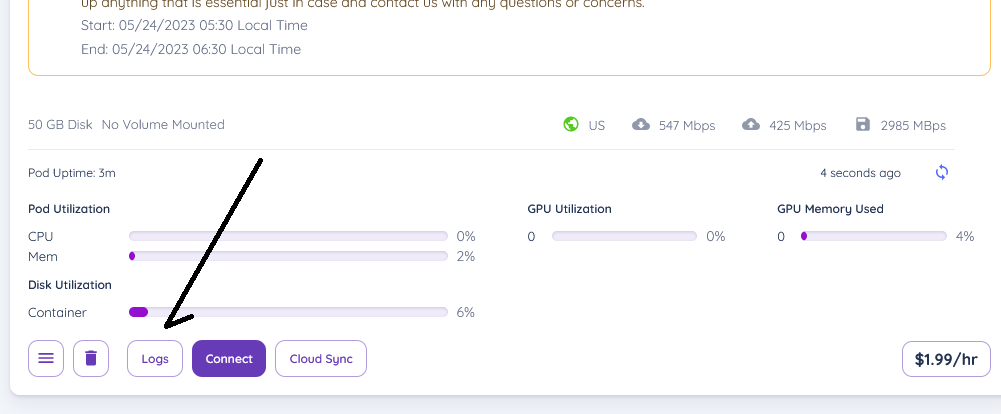
wait for the model to be downloaded
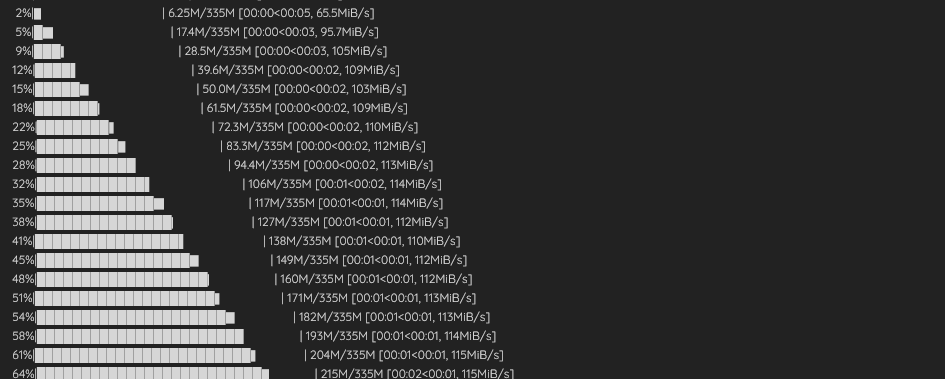
and wait till you see a url saying "Running on local URL: http://0.0.0.0:7860", or a similar one

now go back to the pod screen, and click connect
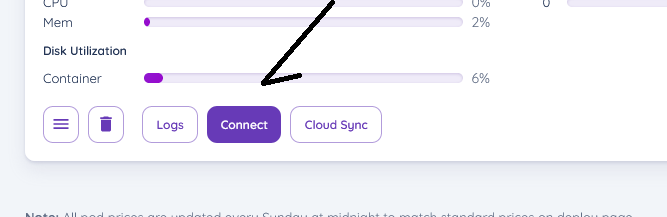
and connect to the url that opens up
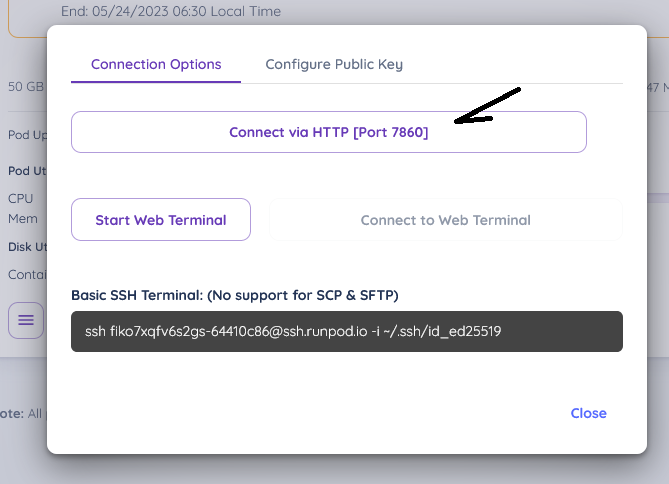
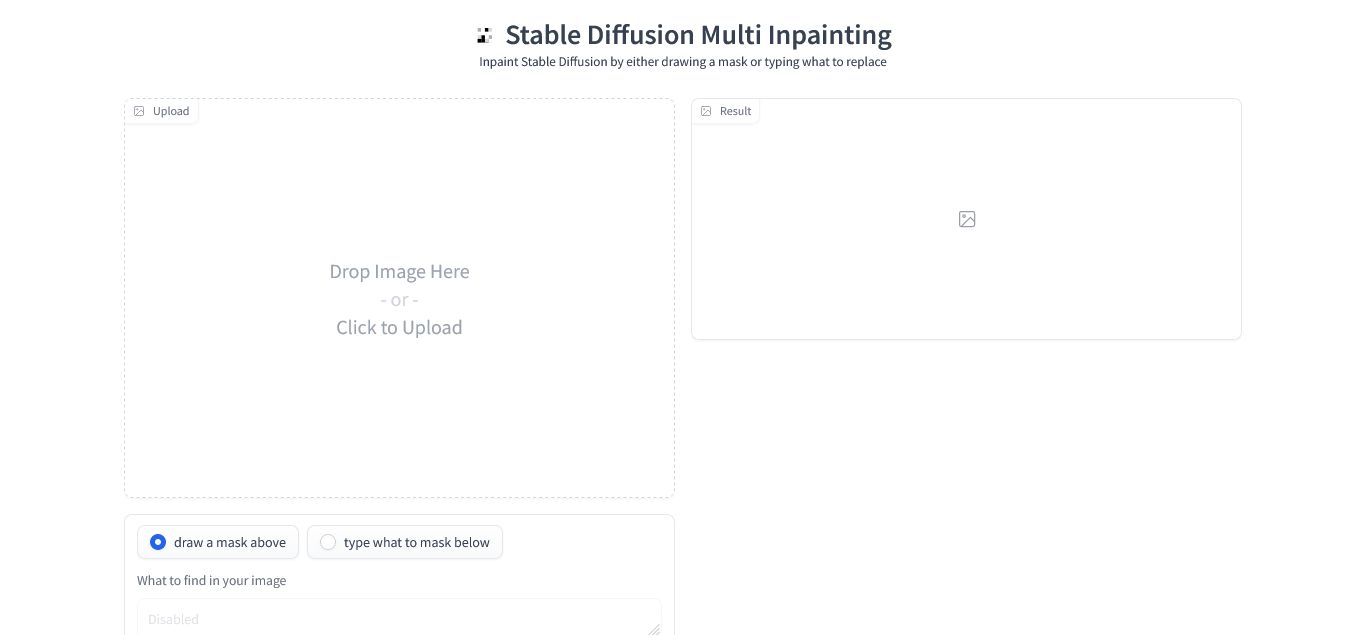
and ta-da!, you should see gradio now!