How To Install SillyTavern in a RunPod Instance

While some might prefer the simple text-based entry of an oobabooga interface, others might want something a little more robust. SillyTavern offers a number of additional features above and beyond most methods of interfacing with an LLM, and there's been some demand on getting it set up and installed on RunPod. Let's take a look
Why use SillyTavern?
With as many front ends for LLM text roleplay as there are out there (oobabooga, KoboldAI, etc.), SillyTavern is a one-stop shop that lets you interface with all of them in a single place, rather than being limited to a single option. According to their GitHub, SillyTavern is a fork of TavernAI 1.2.8 that adds a number of additional features, supplied by a more active development roster. Over time, it has grown into its own program with its own goals, and according to GitHub statistics has become the more active project over TavernAI.
SillyTavern has a number of features that are more immersive than typical text front ends, such as backgrounds, character photographs, and more options with interacting with characters other than straight text. It also has mobile support, chat bookmarks, a more customizable UI, and a lot of user-friendly features that the other front ends lack. For a full list of features, I recommend checking out the SillyTavern wiki.
Here's how to get SillyTavern up and running in a RunPod instance.
Spin up a pod
Because SillyTavern is a front end, it can run in any pod you like on RunPod. Selecting a particular pod is more about ensuring you have enough GPU resources to run your desired model. There are no particular resource requirements to run SillyTavern itself, other than the couple of gigs of space that you need to clone the repo. As far as the template for the pod, I do recommend choosing a template that has the desired server type that you use to run (KoboldAI, oobabooga, etc.) You can install any server in any pod without an issue, but selecting the one you want right off the bat means one less that you have to install manually and will save you some time.

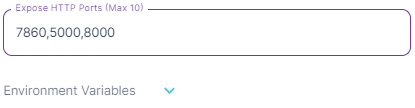
Expose HTTP Port 8000
SillyTavern runs on port 8000, so whenever convenient you will need to expose this port under your Edit Pod screen under Expose HTTP Ports. (Be advised that doing so will force a restart of your pod.)
Clone and install from the GitHub repo
Open up a Terminal and type the following in your workspace directory:
git clone https://github.com/SillyTavern/SillyTavern -b main
This will download the repo from GitHub. Once completed, type the following:
cd SillyTavern
vim config.conf
You'll need to add some IP addresses to the pre-defined whitelist, due to the RunPod environment needing to connect to the machine to expose the port to the Internet. Change the line that begins with const whitelist to the following:
const whitelist = ['127.0.0.1','100.64.0.25', '100.64.0.24']
Hit Escape and :w to save, and then :q to exit vim, and then type ./start.sh and press Enter. (If you prefer to use Jupyter Notebook or some other method to edit the file, that's perfectly okay, too – this is just the fastest way of doing this, especially on a fresh pod install. If when running the server it gives you any other complaints about forbidden connections, add those IP addresses as well in the same format.)
The other option is to set up user authentication if you prefer, but for single-user setups I've found simply adding the IP address to the whitelist to be a one-and-done setup. (Be aware that SillyTavern will not run with a disabled whitelist as well as disabled user authentication; you must have at least one or the other enabled.)
Anyhow, running the start script will also install npm and node.js if they are not already installed. For reasons not entirely clear to me, I did have to run it multiple times after receiving "command not found" errors from the start script, but running it two or three times did eventually work through the install.
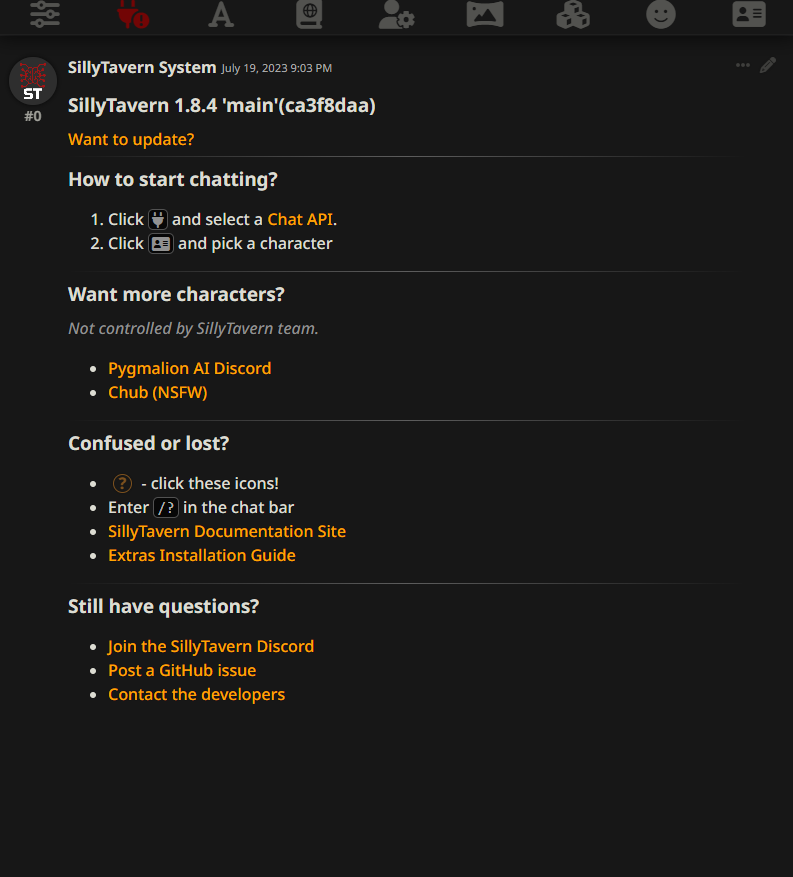
Once it's up and running, you'll get the following:
Entering SillyTavern...
Running from source
SillyTavern 1.8.4 'main' (ca3f8daa)
Launching...
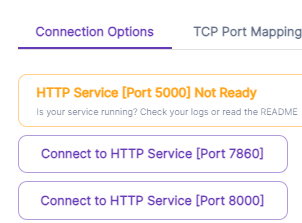
SillyTavern is listening on: http://0.0.0.0:8000/
This means you can go back to My Pods and connect to the HTTP service, and it should load in your browser.
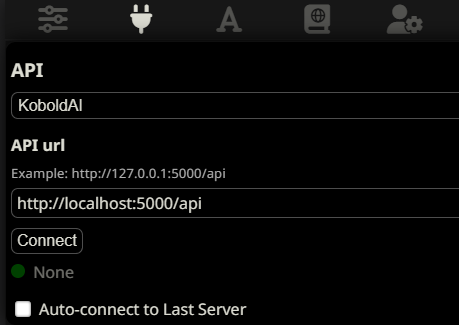
Connecting to a chat service
Once you see this screen, click the plug icon and select a service to connect to. KoboldAI is the default, but you can also connect to oobabooga if you have it running in your pod, or even KoboldAI Horde if you are running without a GPU (since the GPU will be provided by the horde in this case, though it may be slow to respond since you won't also be providing GPU cycles back to it.) Of course, you'll need to ensure that you connect to the service that's been supplied to your pod, or that you've otherwise installed manually.
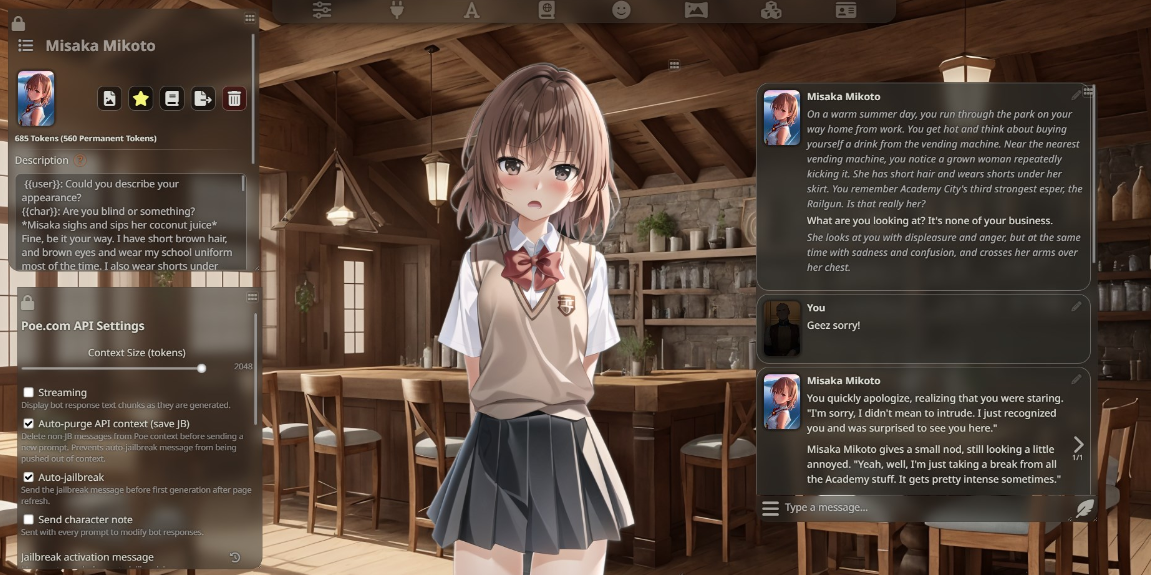
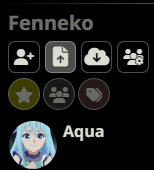
You can then click on the ID-badge looking icon in the upper right, and begin chatting with a character.
Or, upload your own TavernAI card from the same screen (highlighted.)
Questions?
Feel free to reach out to us with any inquiries!