Guide to Using the Kohya_ss Template with Runpod

Introduction:
In this post, we will discuss the process of utilizing the Kohya_ss template with Runpod. The Kohya_ss template is designed for desktop CUDA and supports applications like Kohya_ss. We will provide a step-by-step guide to help you get started. It is recommended to use the NVIDIA 3090/4090 GPU for optimal performance with this template.
The template can be accessed via this link: Template
Step 1: Start a RunPod Pod with TCP Connection Support
To begin, start a Pod that supports TCP connection. This is crucial for ensuring seamless communication to the desktop environment.
Step 2: Access the Desktop Environment
Once the Pod is up and running, copy the public IP address and external port from the connect page.
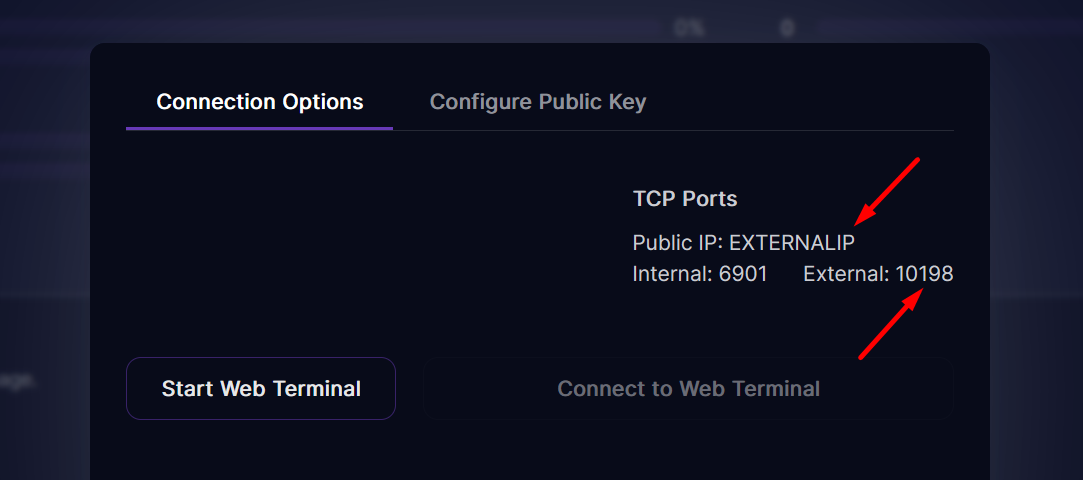
In a new browser tab, enter the following URL:
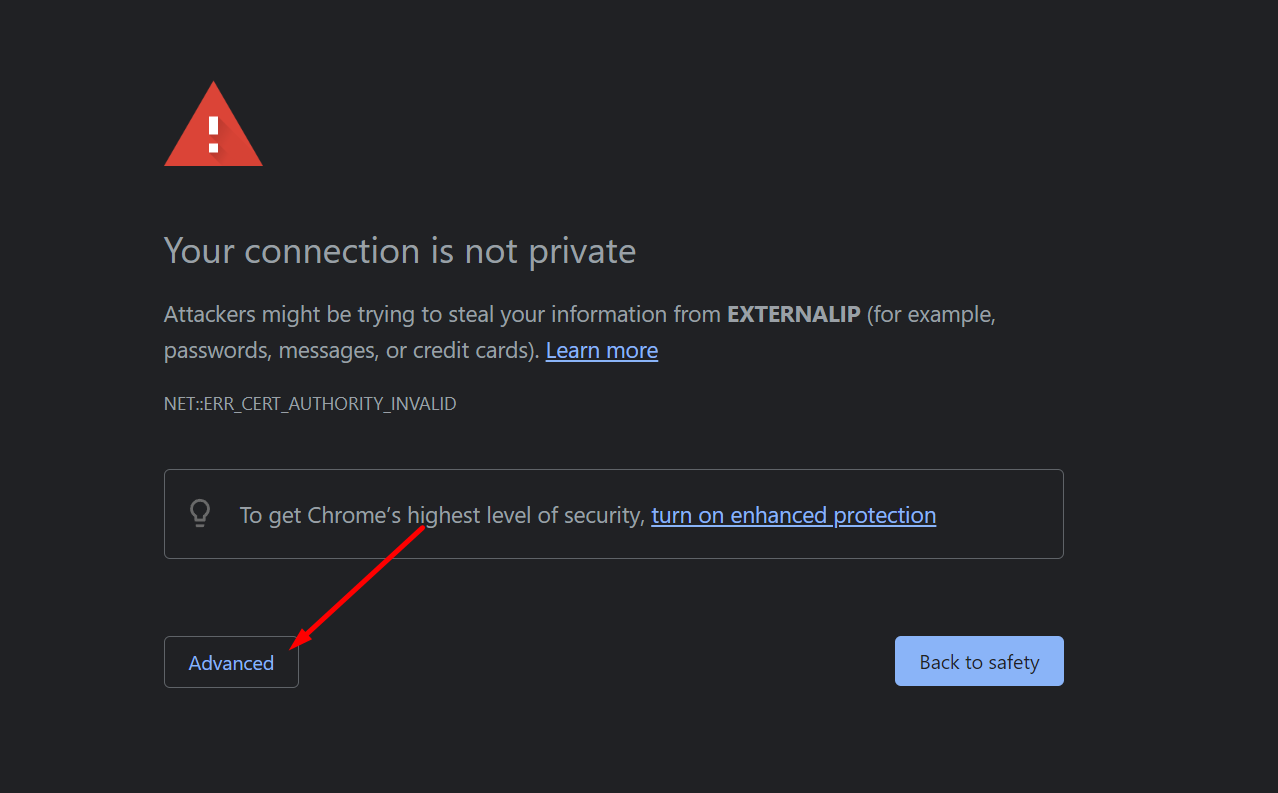
https://EXTERNALIP:EXTERNALPORTNote: Your browser may warn you about an insecure connection. This is expected, and you can safely ignore it.
Step 3: Log in to the Desktop Environment
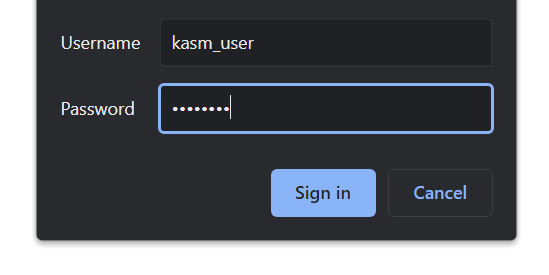
Use the following credentials to log in:
Username: kasm_user
Password: password
Step 4: Install Kohya_ss
To install Kohya_ss, follow these steps:
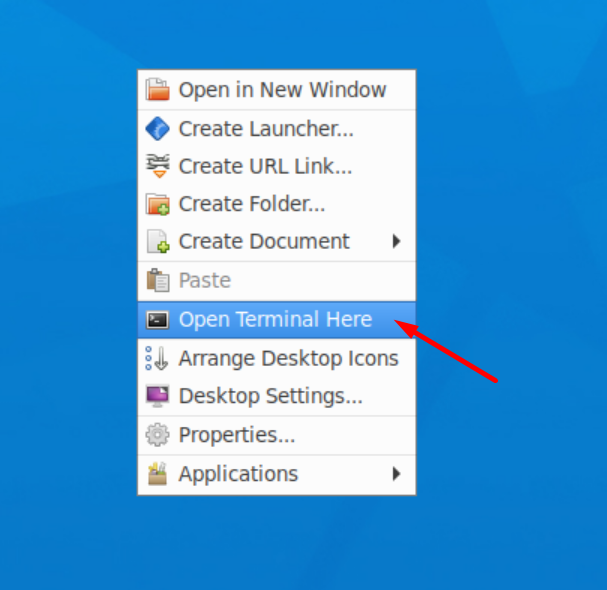
Right-click on the desktop and open a terminal window.
Enter the following commands one by one:
wget https://github.com/kodxana/SCforRunpod/raw/main/kohya_ss-installer.sh
chmod +x kohya_ss-installer.sh
./kohya_ss-installer.sh
These commands will download the Kohya_ss repository, install the necessary packages, and create a run script on the desktop.
Note: This might take some time depending on internet connection. If there are some errors let Madiator2011 know on our Discord.

Step 5: Launch Kohya_ss
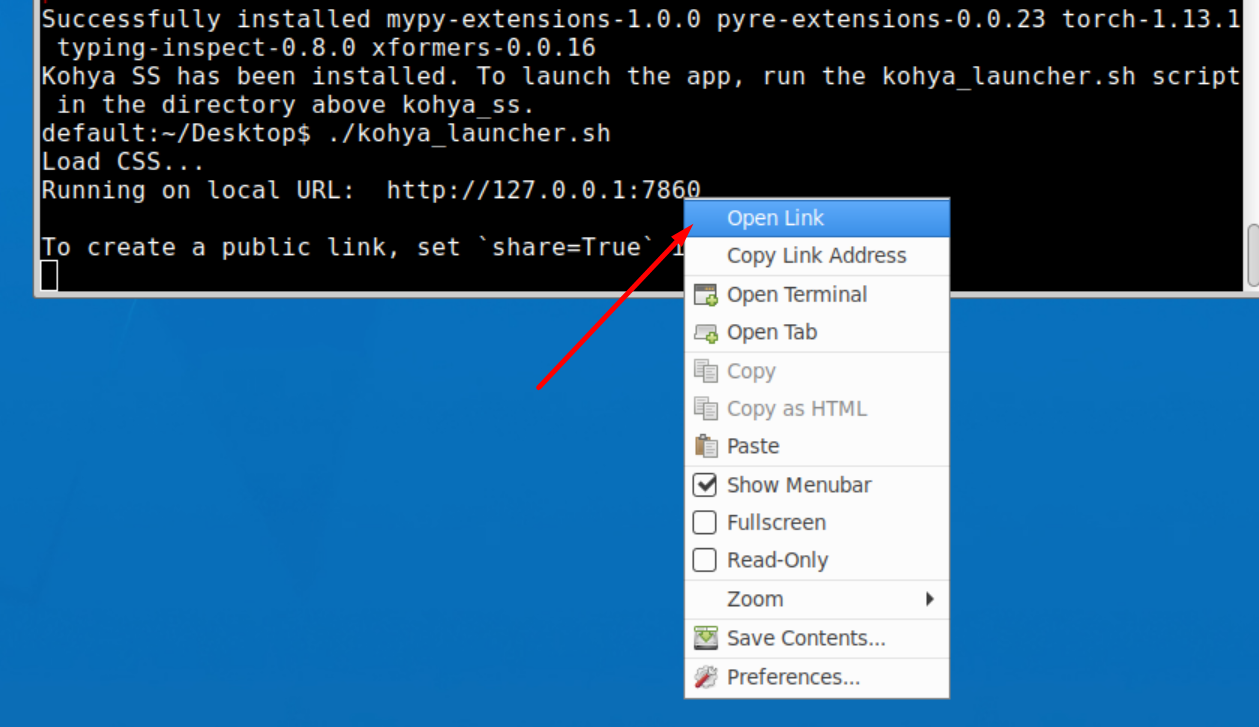
After the installation is complete, you can run the Kohya_ss user interface with the following command:
./kohya_launcher.sh
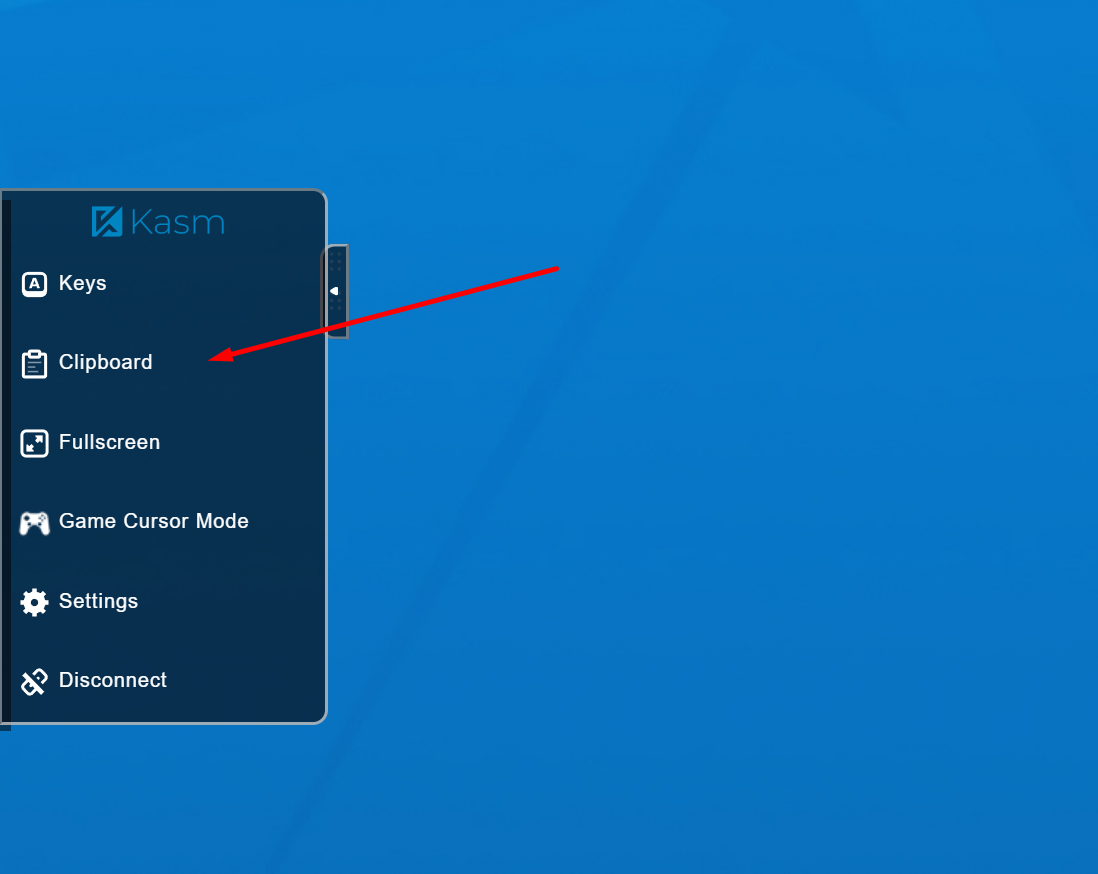
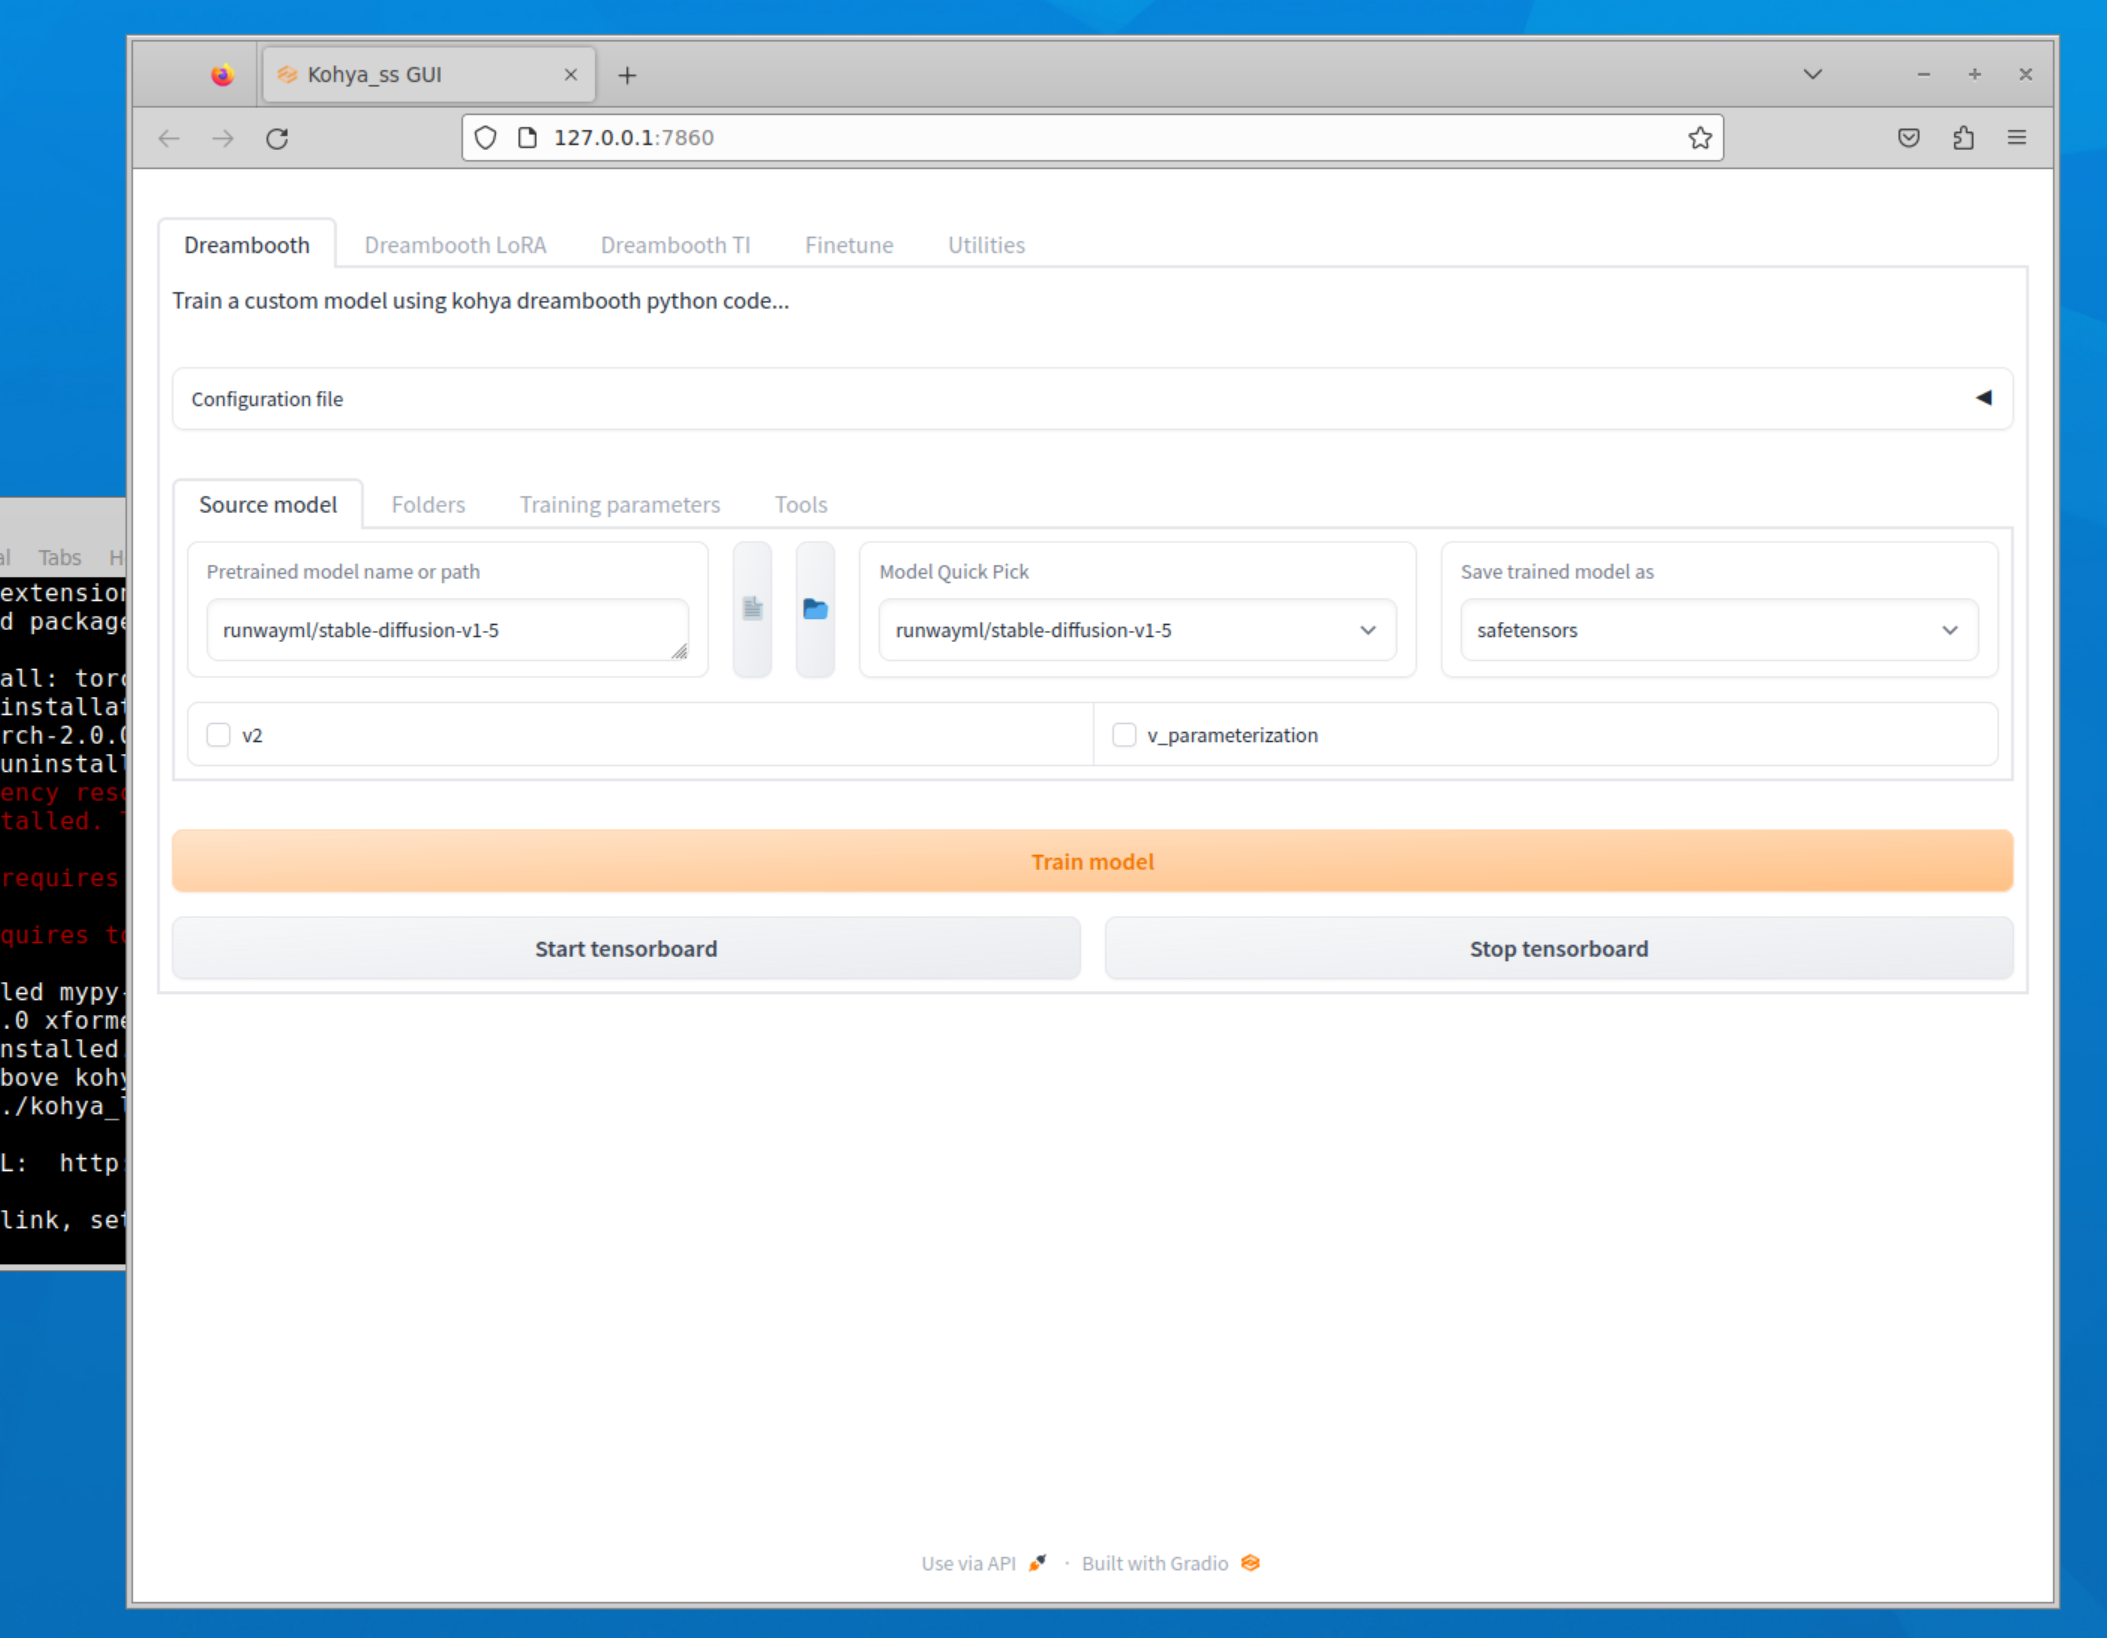
The command will generate a link that you can open in browser inside Kasm to access the Kohya_ss application.
Congratulation you have installed Kohya_ss GUI :)
Conclusion:
In this guide, we have provided a detailed walkthrough on setup of the Kohya_ss template. By following these steps, you can easily set up and run the Kohya_ss application in a Runpod environment. This powerful combination allows you to harness the power of desktop CUDA and enjoy a seamless experience with the Kohya_ss application.
Hopefully, this blog post has given you a better understanding of how to use the Kohya_ss template. If you have any questions or need help, don't hesitate to send message on RunPod's Discord or other communities for support.