Creating an Animated GIF from an Existing Image with the RunPod Stable Diffusion Template
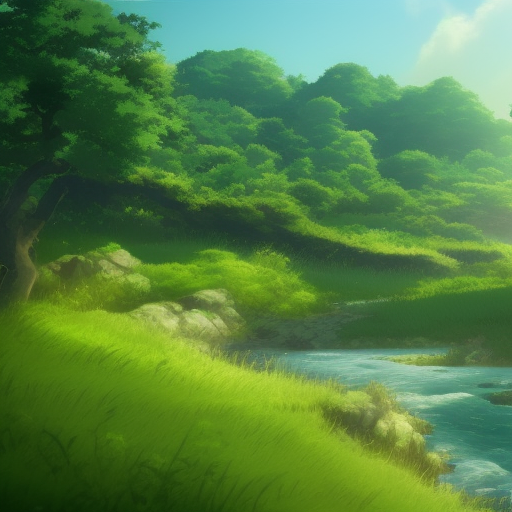
Many of you have probably seen this tutorial for creating a GIF image from a still artwork. Wondering how to do it with RunPod? Here's how!
Following similar steps, I've used our Stable Diffusion template to animate the river for this still image, but the possibilities are endless. Let's get creative and learn how I did it!

1. If you don't already have a Pod instance with the Stable Diffusion template, select the RunPod Stable Diffusion template here and spin up a new Pod.

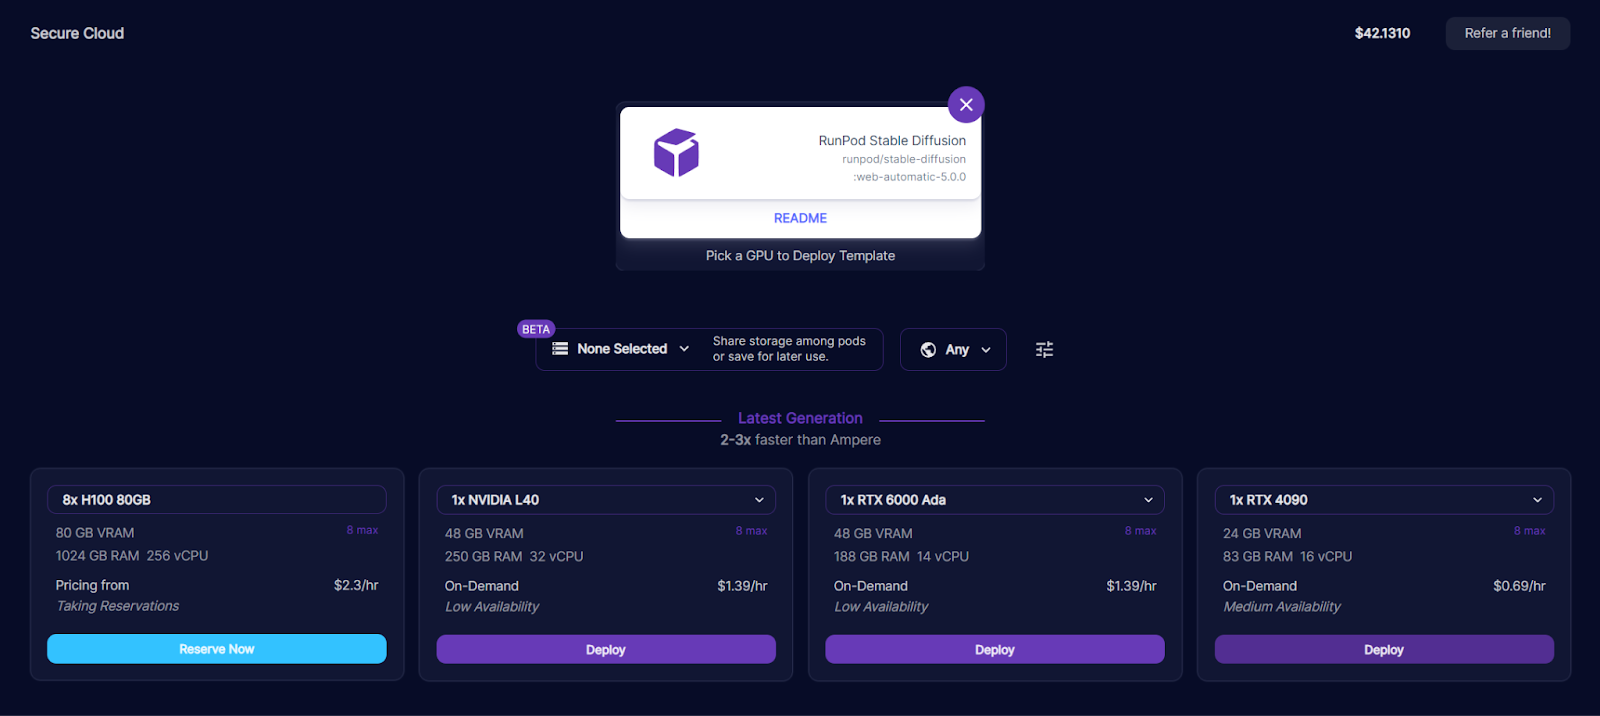


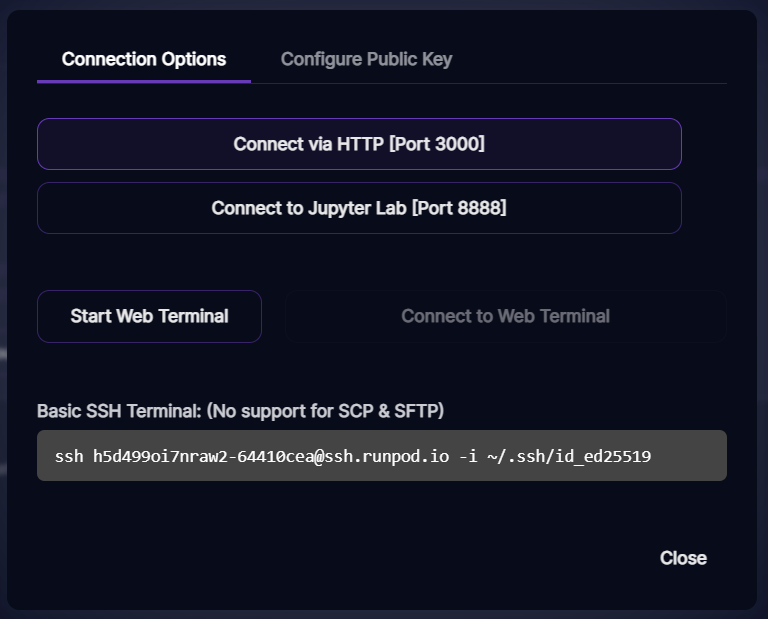
2. Once the Pod is finished being built, select Connect via HTTP. This will take you to the dashboard we'll use to modify our original image and save the frames that will make up our GIF.
3. If you don't have an image to base your GIF off of yet, you can generate one under the txt2img tab by providing a prompt and clicking Generate.
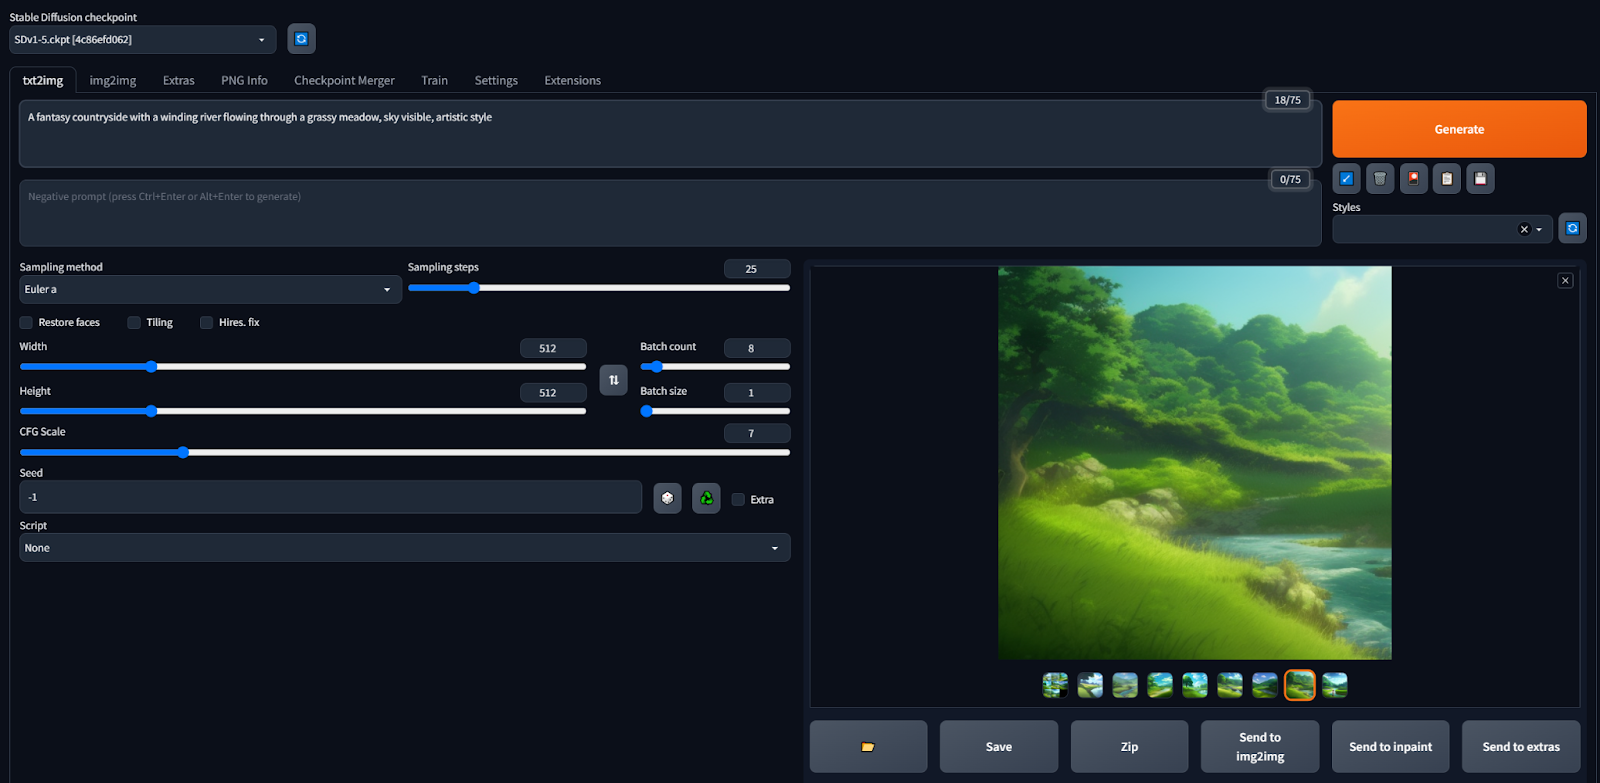
Otherwise, select the img2img tab, choose the inpaint option, and upload your image.
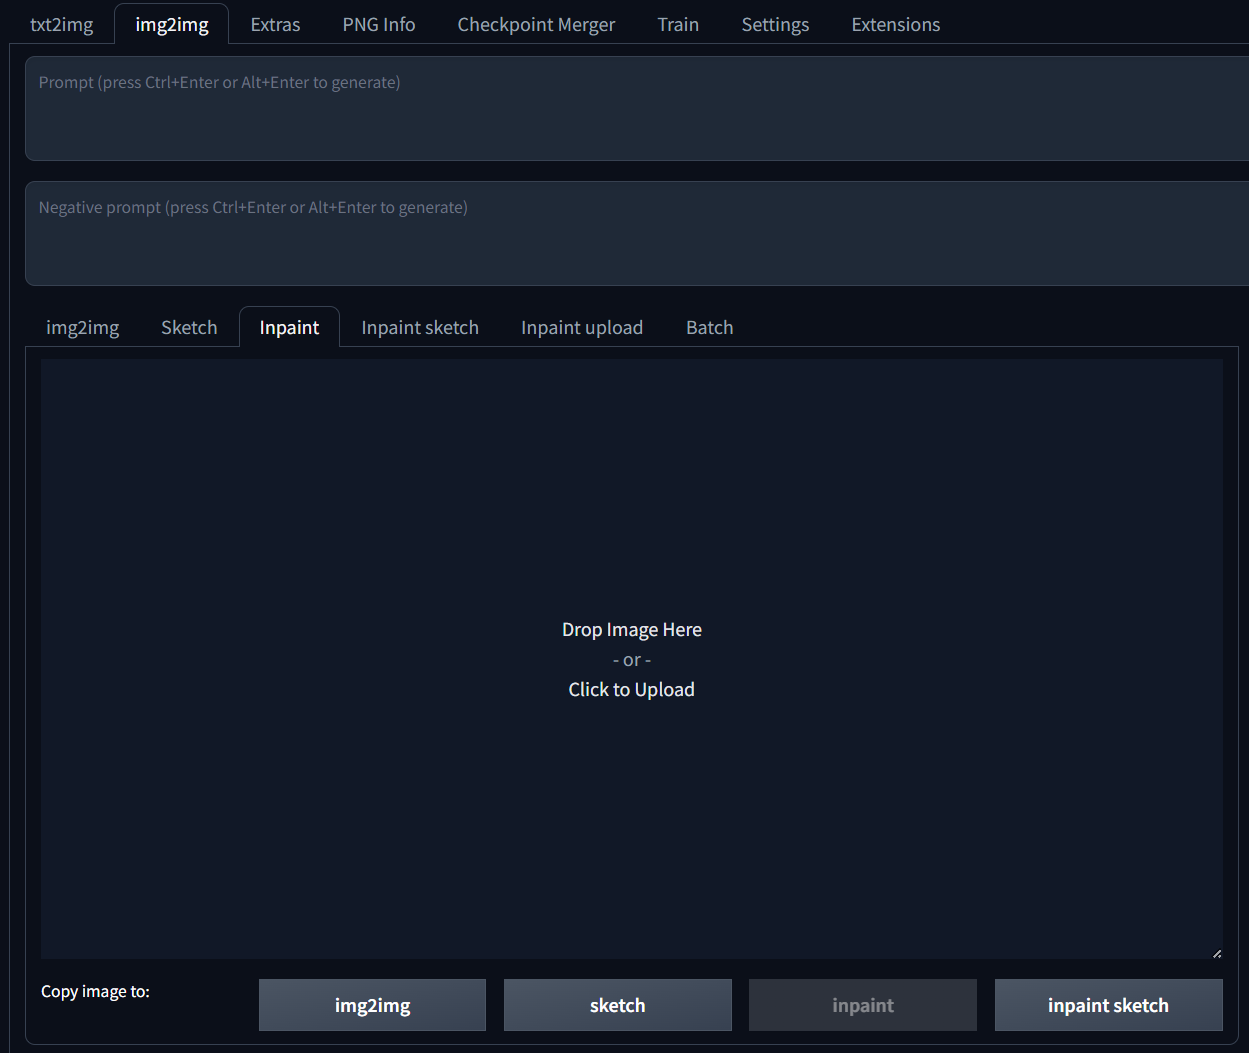
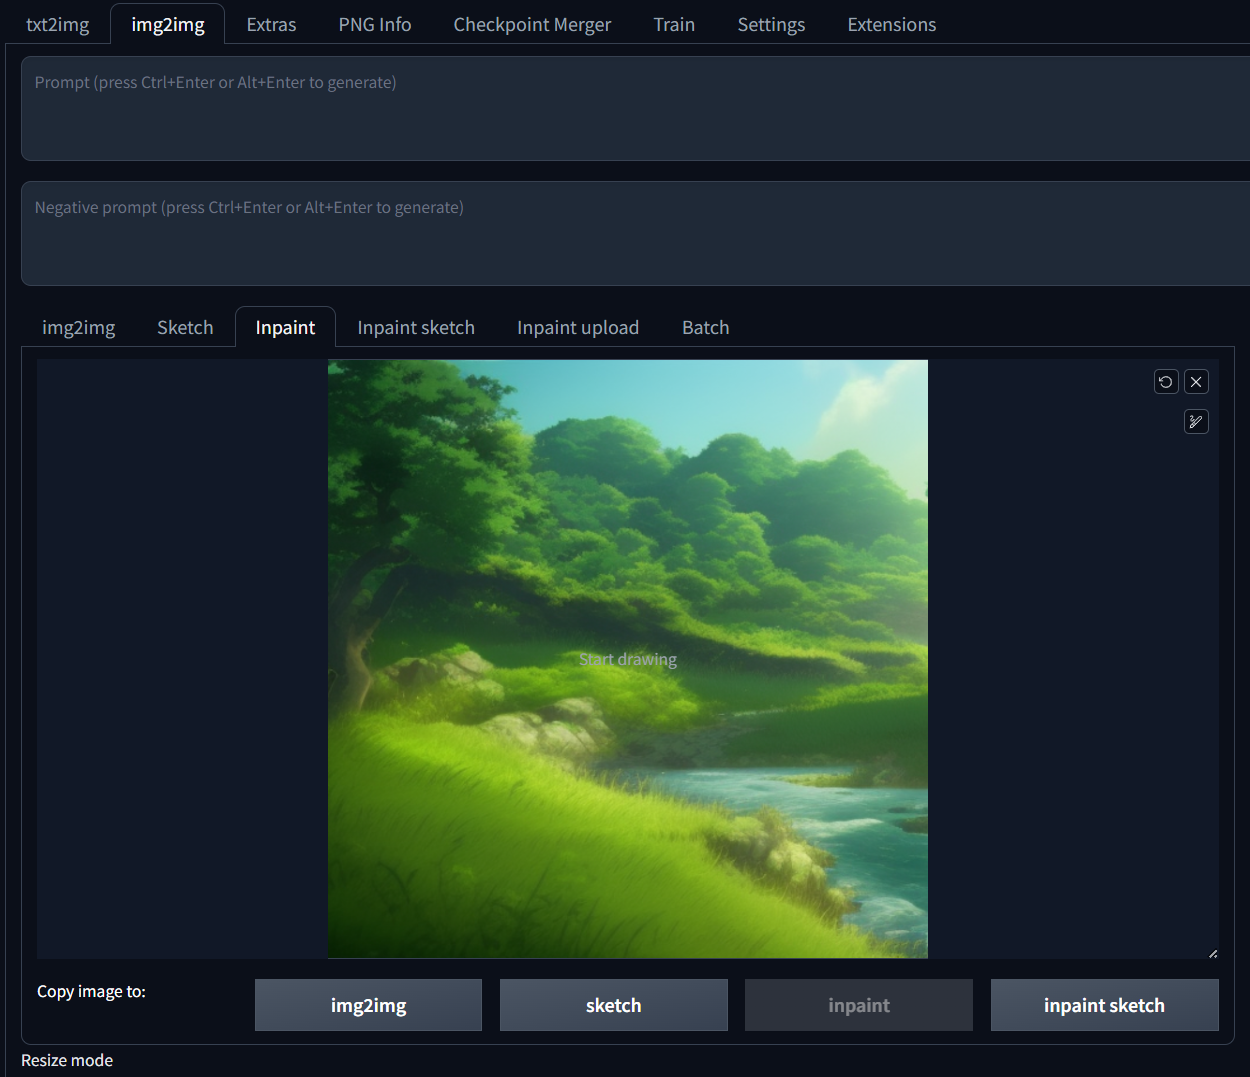
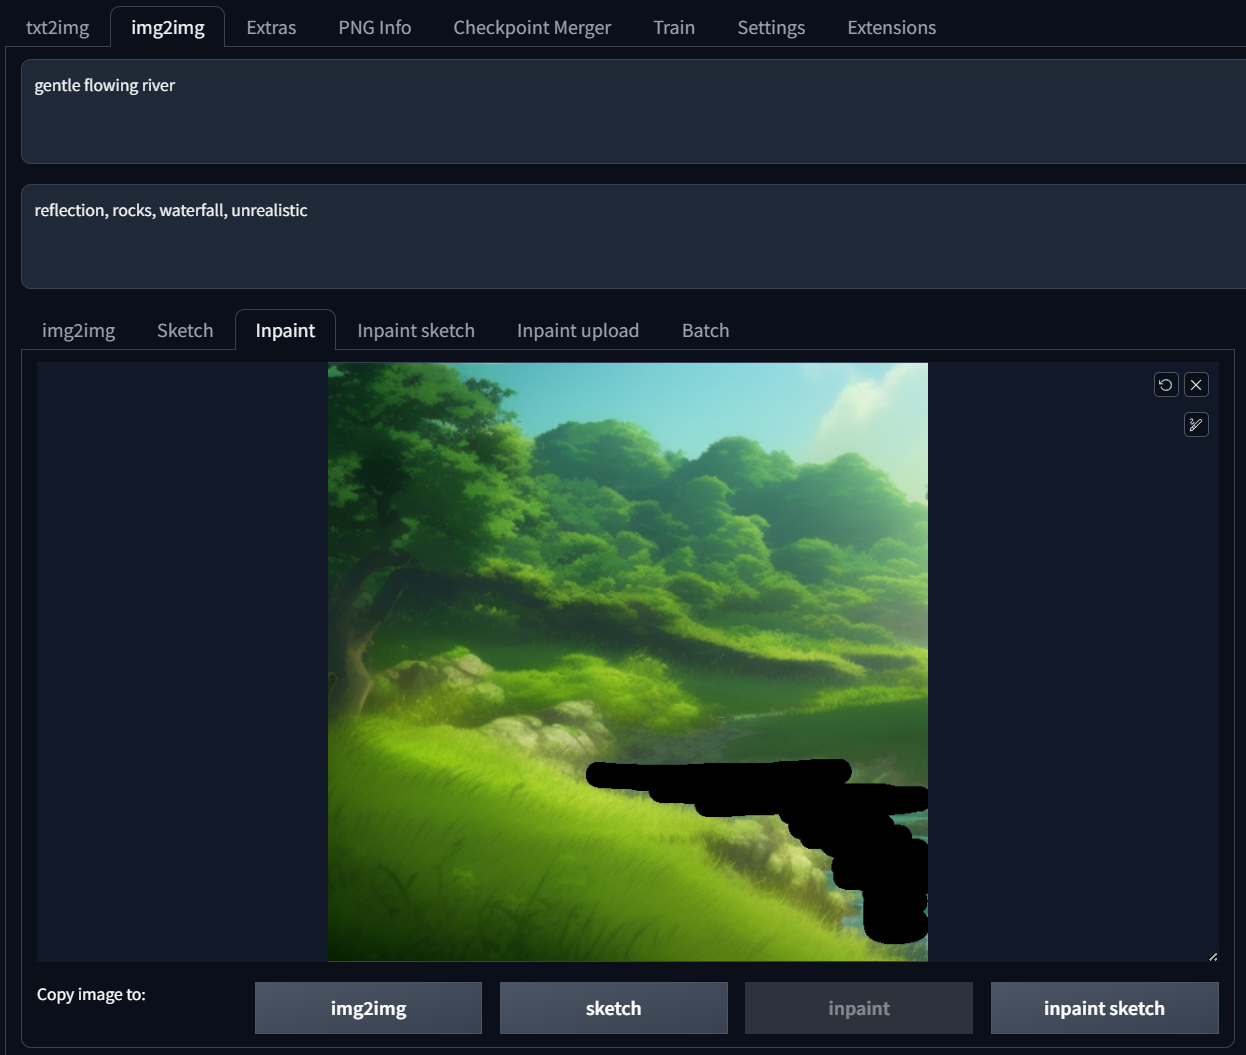
4. With the inpaint tool, carve out the are you'd like to animate, and type a prompt that Stable Diffusion will use to re-draw the carved out area.
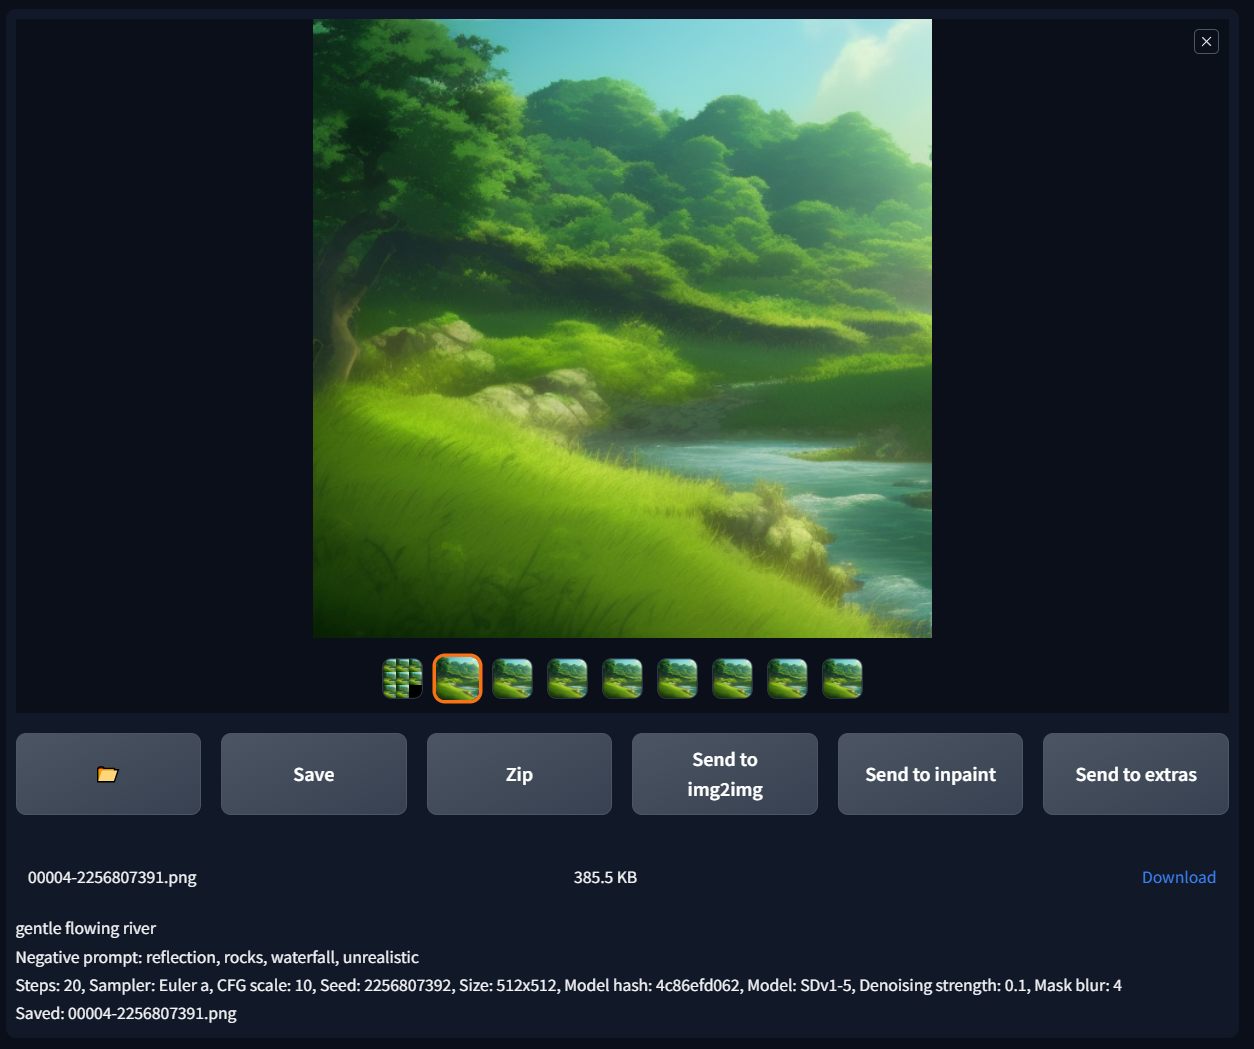
5. Before you generate, scroll down and make sure to increase the batch size to generate more than one image at a time; that way, you can choose the best of the bunch to go into your GIF.
Like the original tutorial suggests, turning the denoising strength down (below ~0.25) and the CFG scale helps as well; this turns down the "creativity" and makes the output image less different than the original.
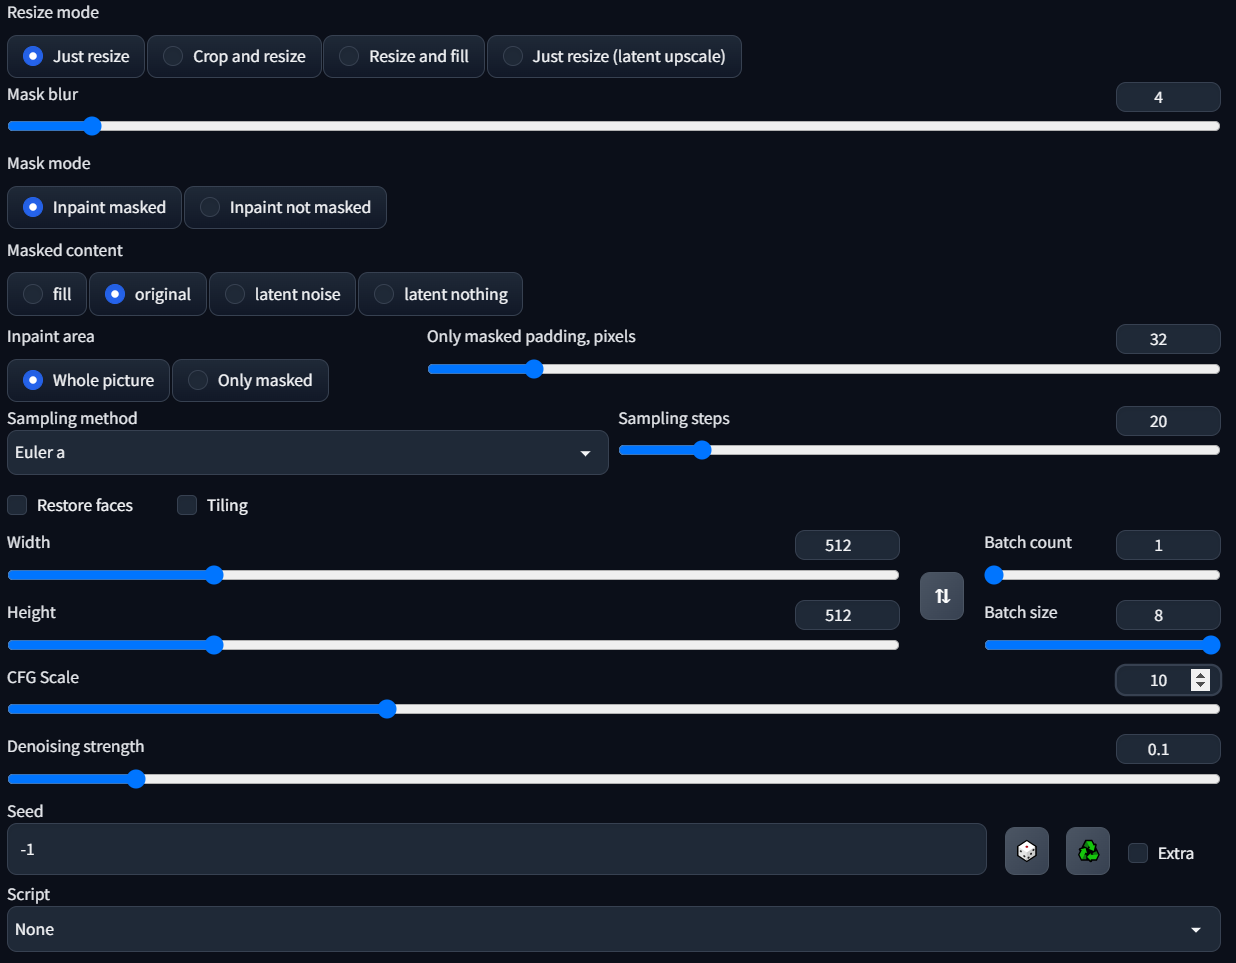
6. Generate! You may need to generate a few times or tweak the settings to get the exact results you're looking for. When you see a frame you like, select Save and click download to save it to your machine.
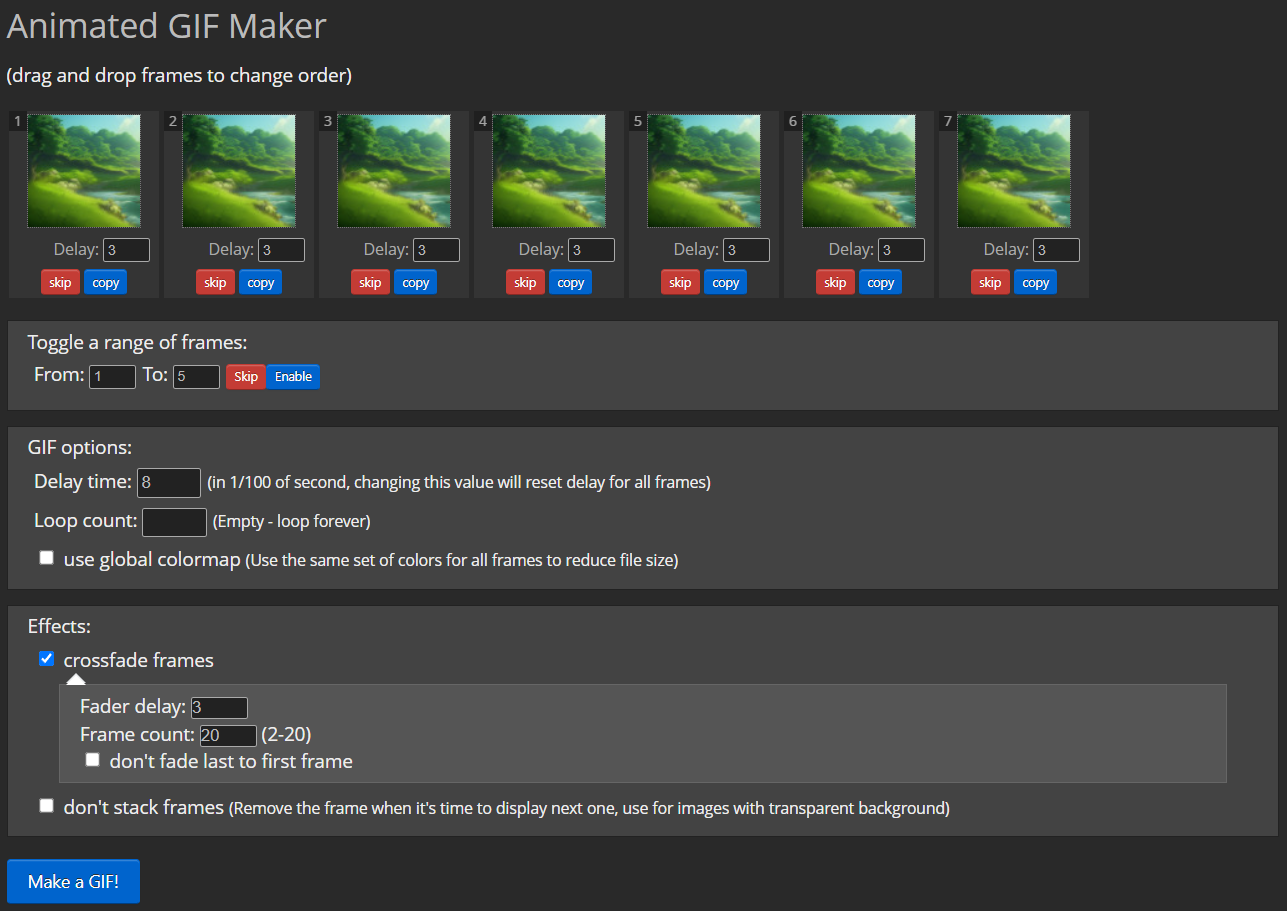
7. Once you have all the frames you want to include for your GIF, all you need to do is stitch them together. I've also used ezgif with these settings to get the job done:
And we're done! Here again is my final result:

Give it a try, and be creative!